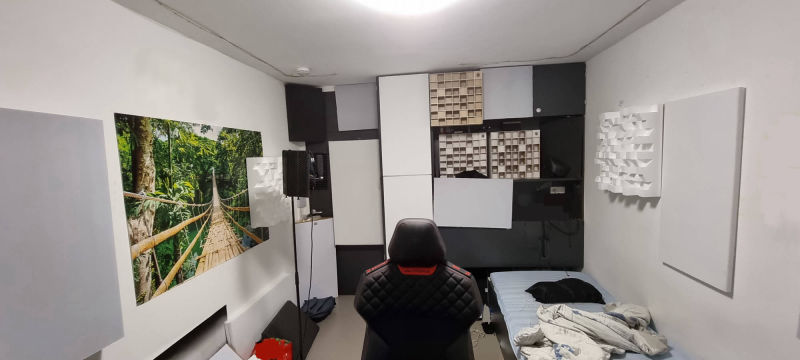
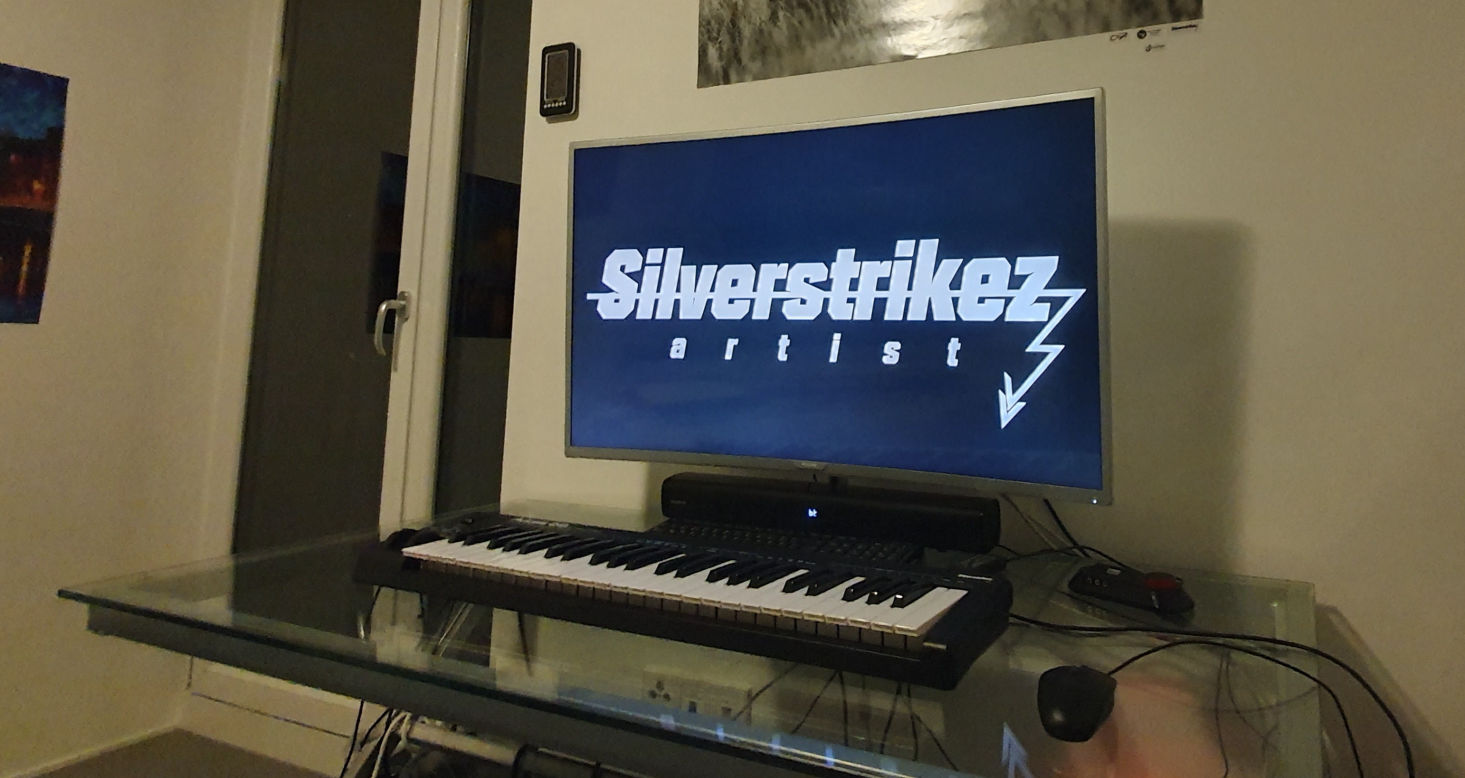
Shown above is Studio A at it's earliest state.
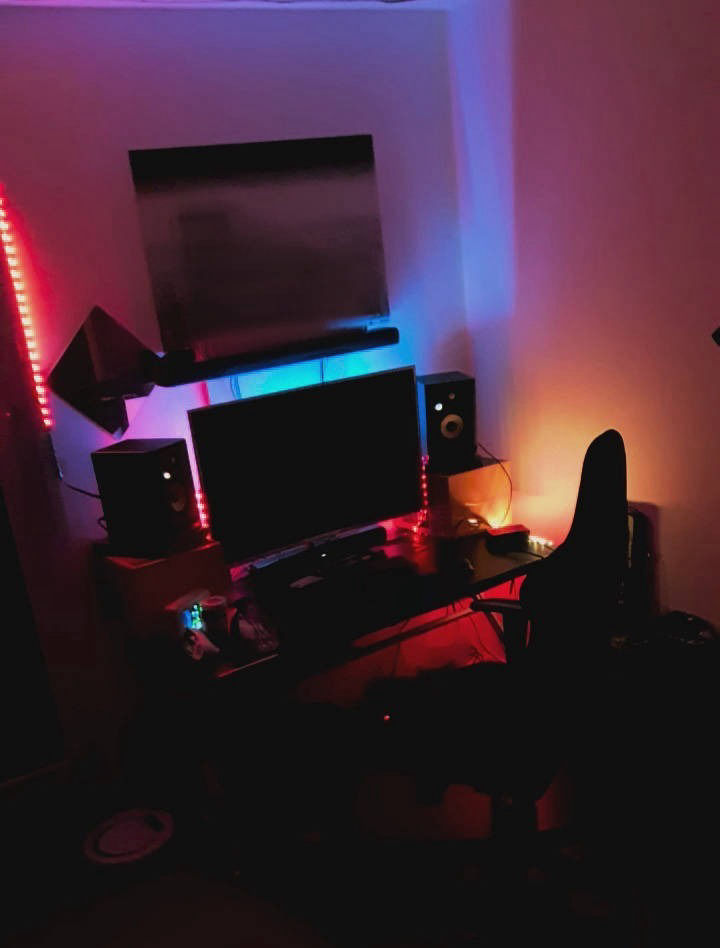
Today everything from mouse to screen has been replaced. The PC next to the table has been upgraded a lot in the meantime and another specially for studio purposes related PC has got it's space. Interestingly enough the table has been foliert by myself for the mouse laser to function reliable. At the beginning the only sound box has been that cheap soundbar with an subwoofer placed on some decken. I am still fascinated how that company got so much out of so small money. It has later been replaced by a Yamaha YAS207 Soundbar. Before most of the equipment has been moved to Studio B the two soundbars were wired in parallel for about a year for even more power. The bigger Yamaha Soundbar has been attached to a wood panel above the screen whilst the shown soundbar didn't move. So when working or listening to music in front of the screen the sound-stage appeared even wider than it already was by being above the listeners ears and the height also improved sound quality when moving around the room or standing.
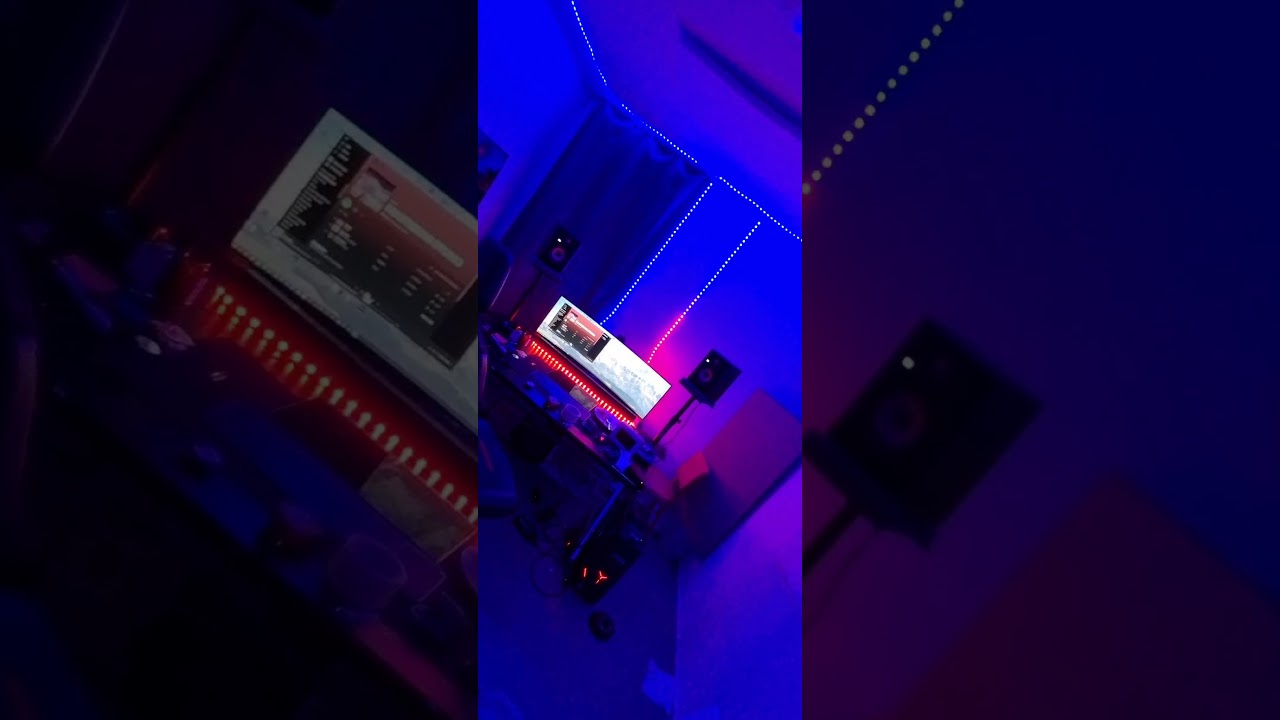
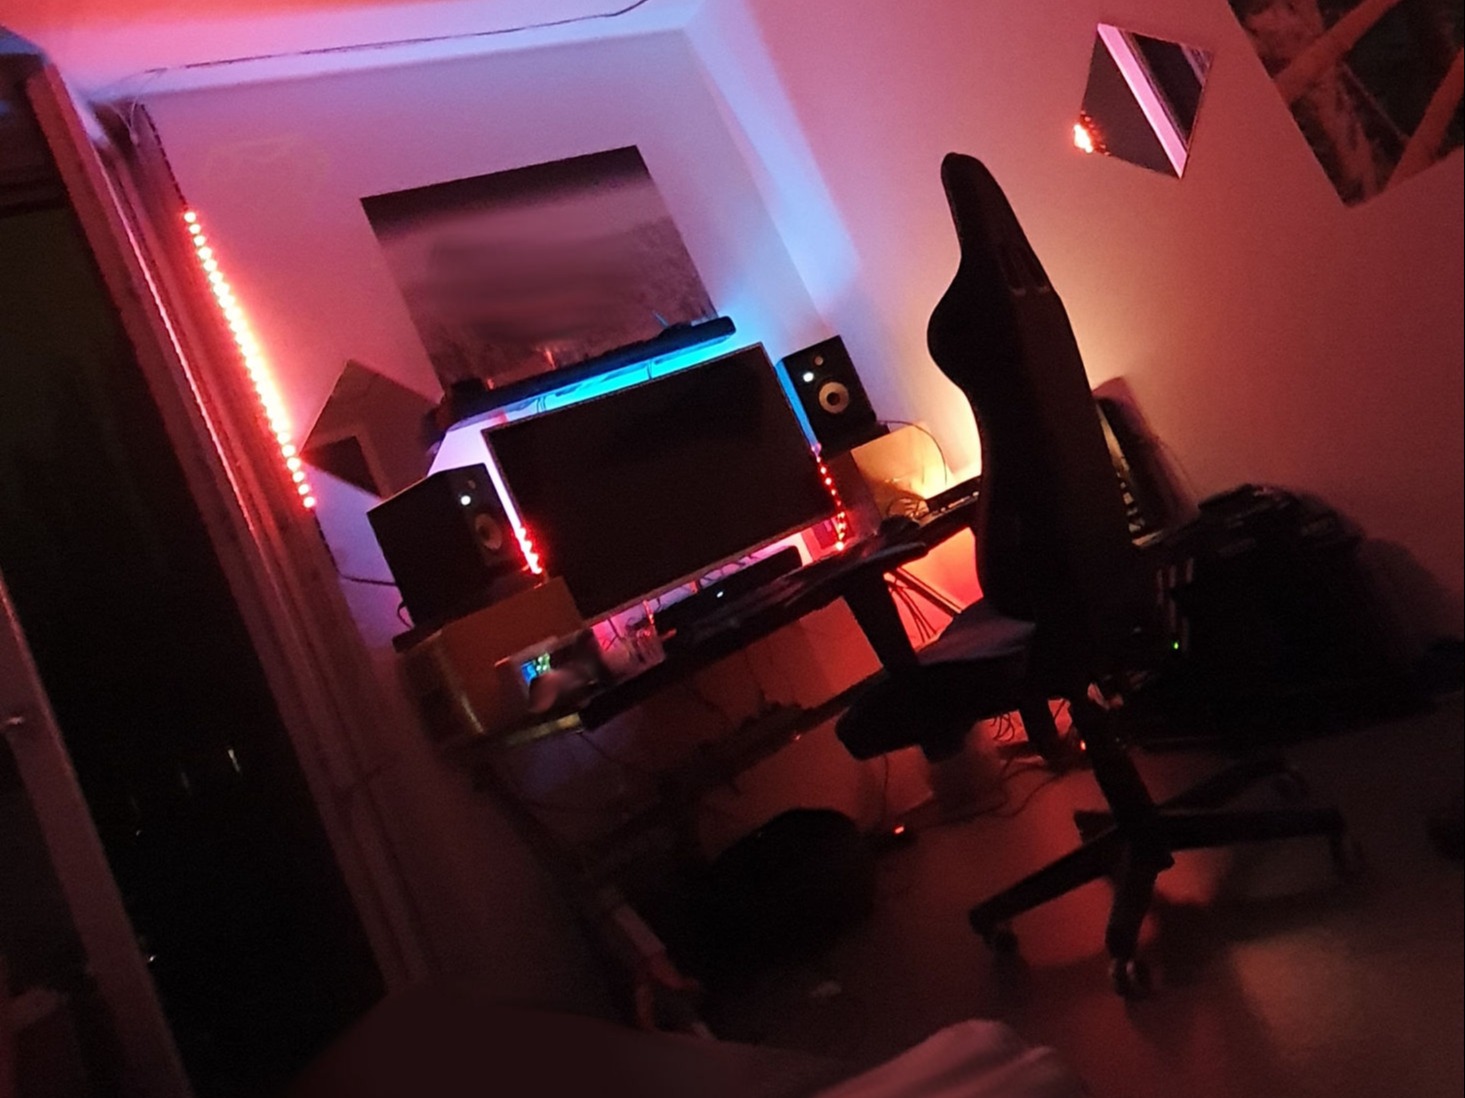
Shown below is the state since ~01.11.2019 until 20.07.2020 (Yas207 added)
The roomy sound from many of the smartphone recordings comes from this setup.
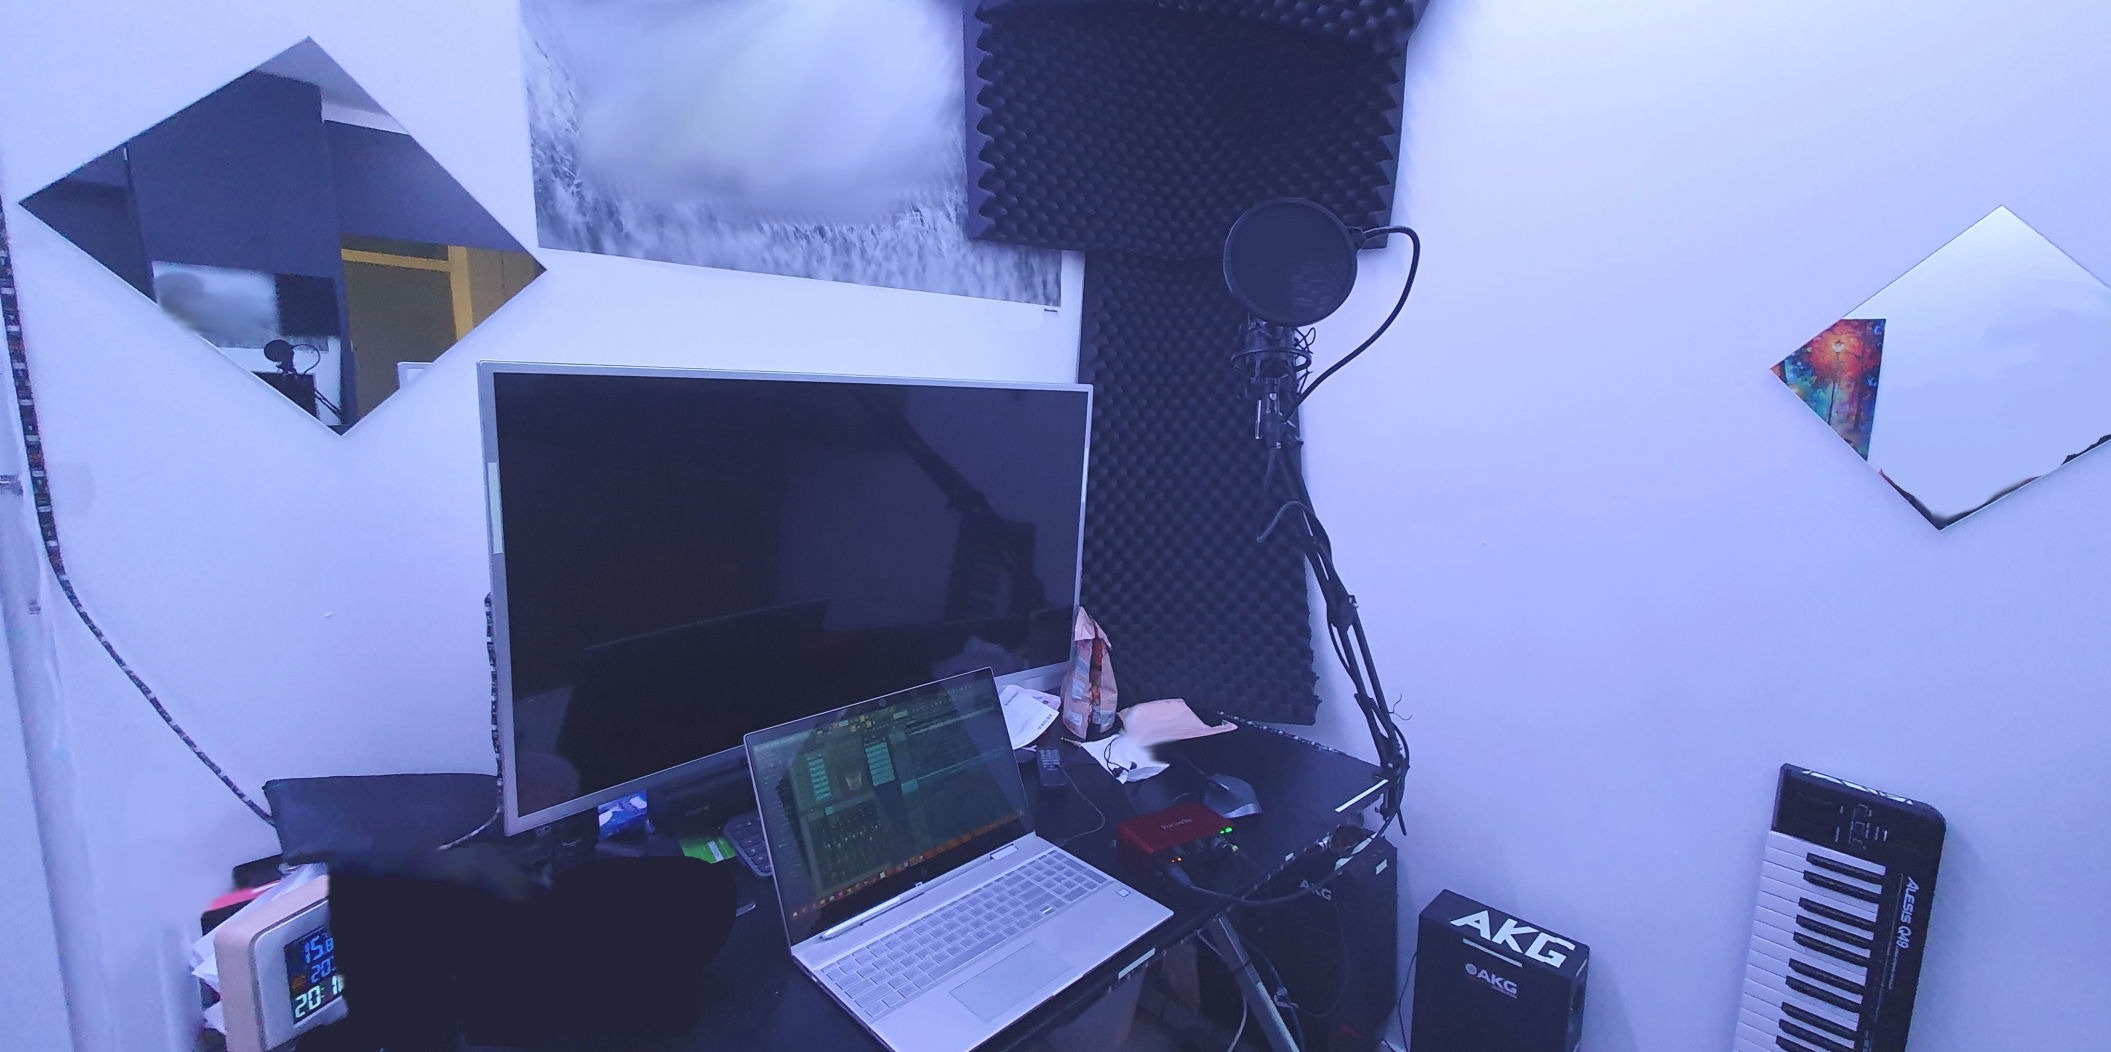
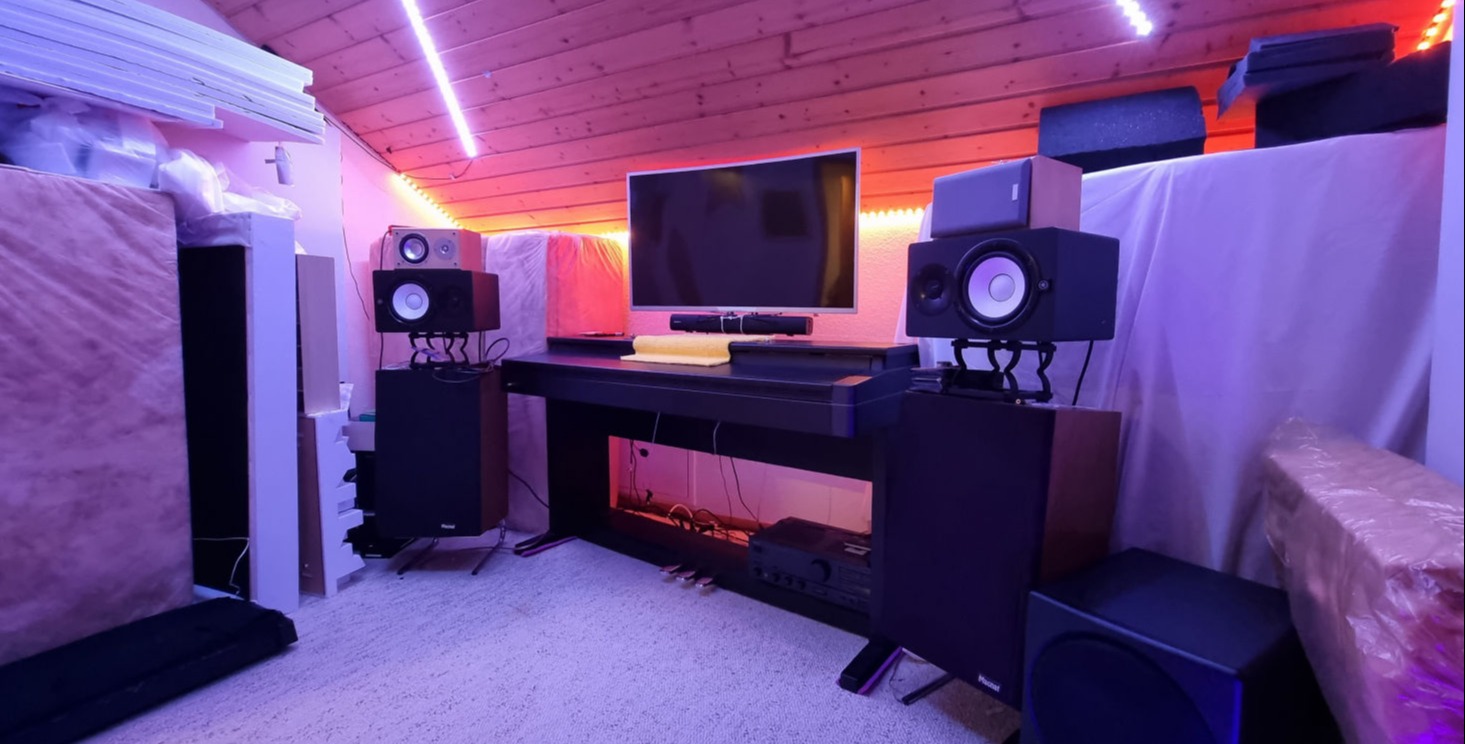
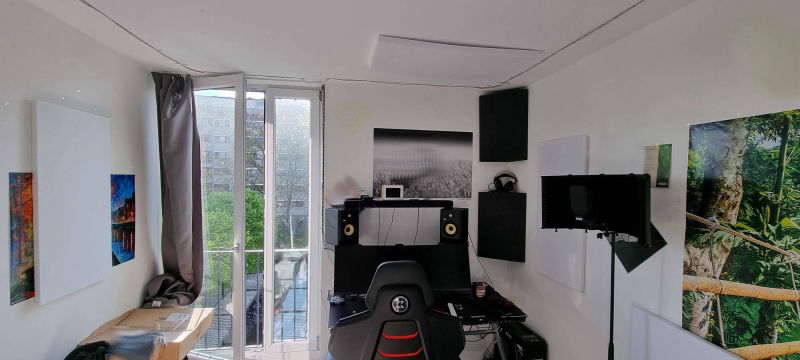
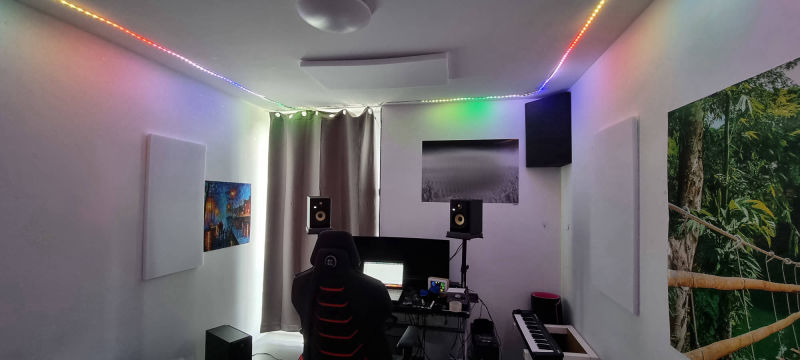
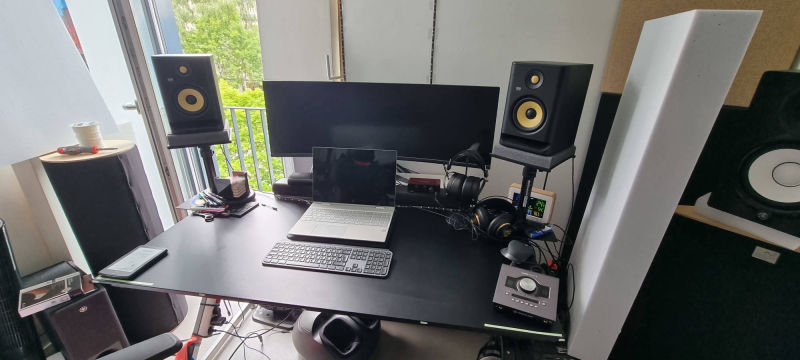
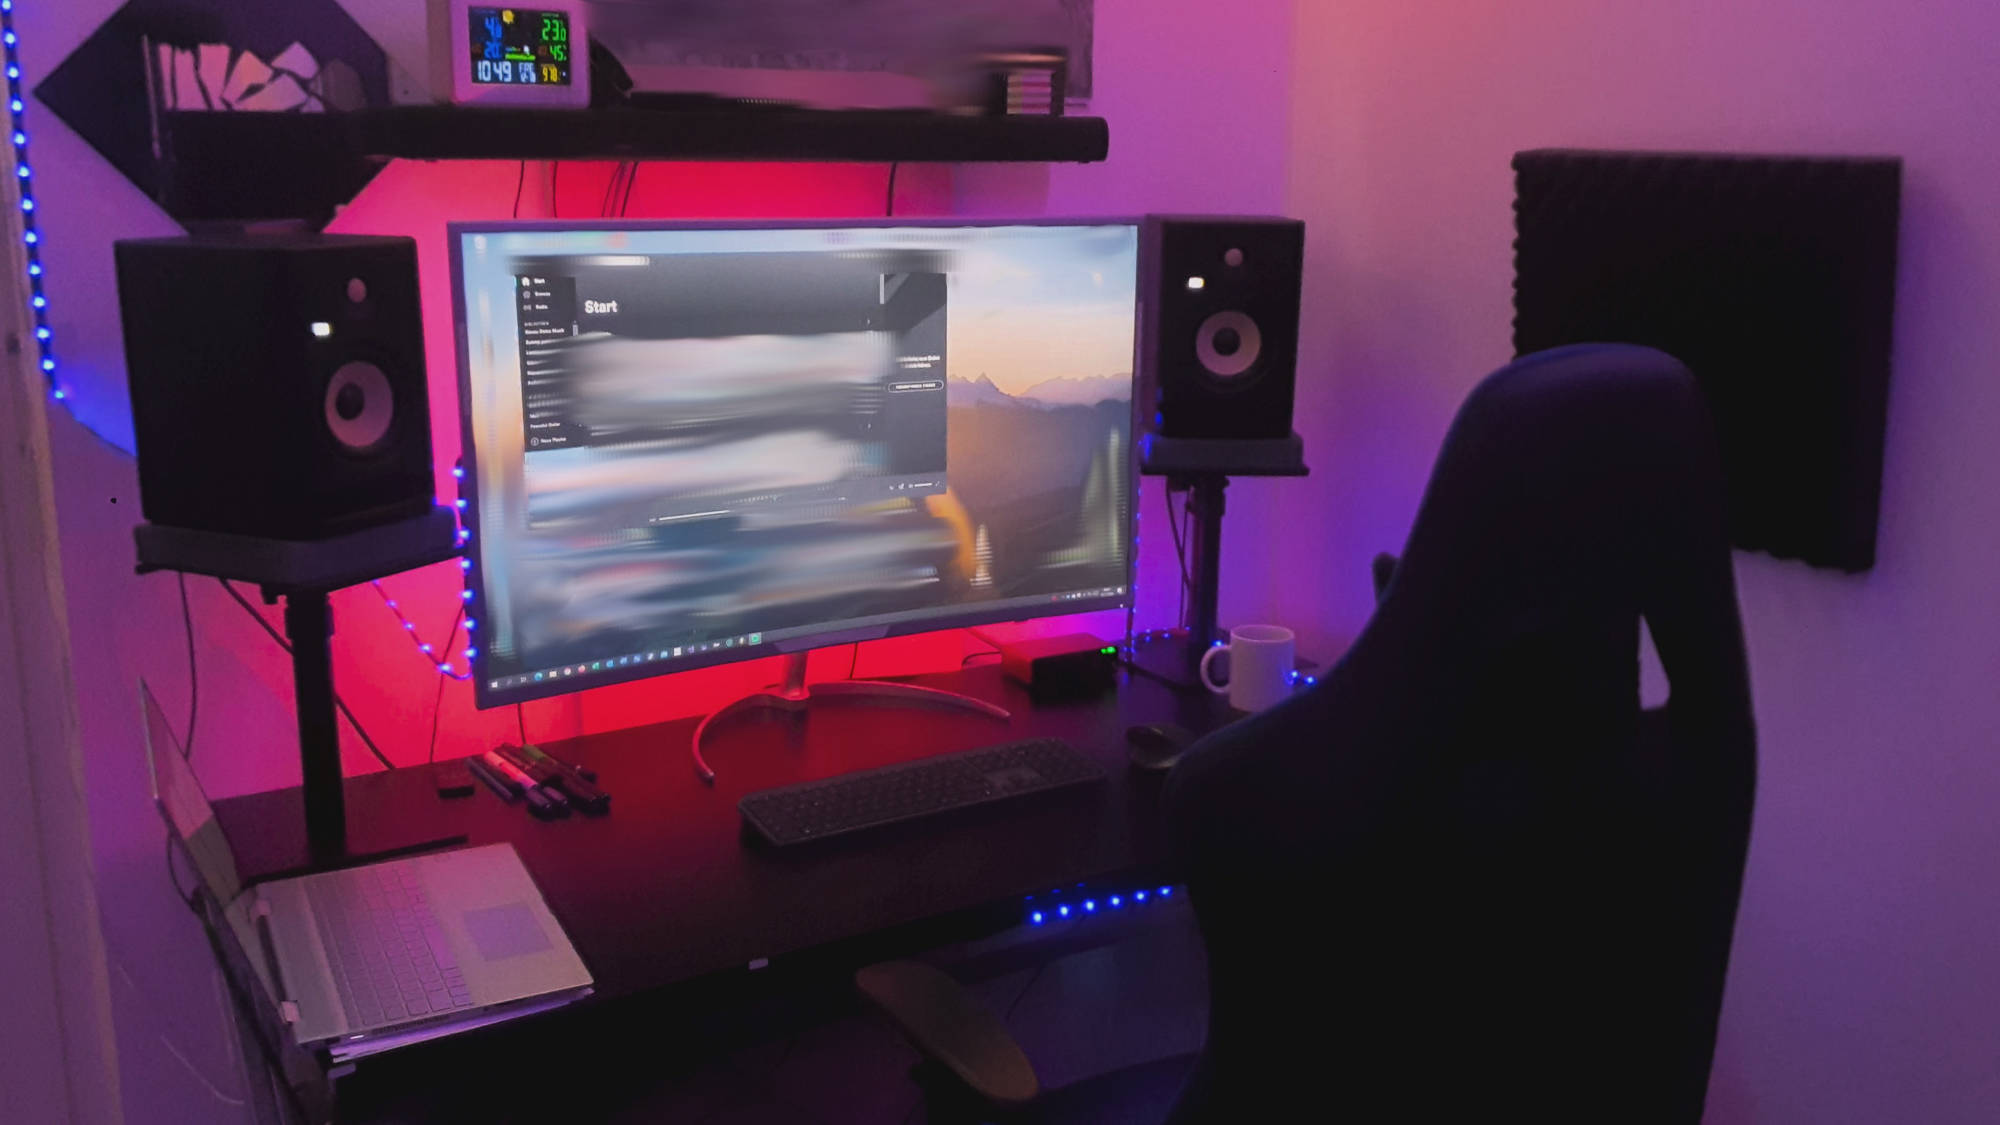
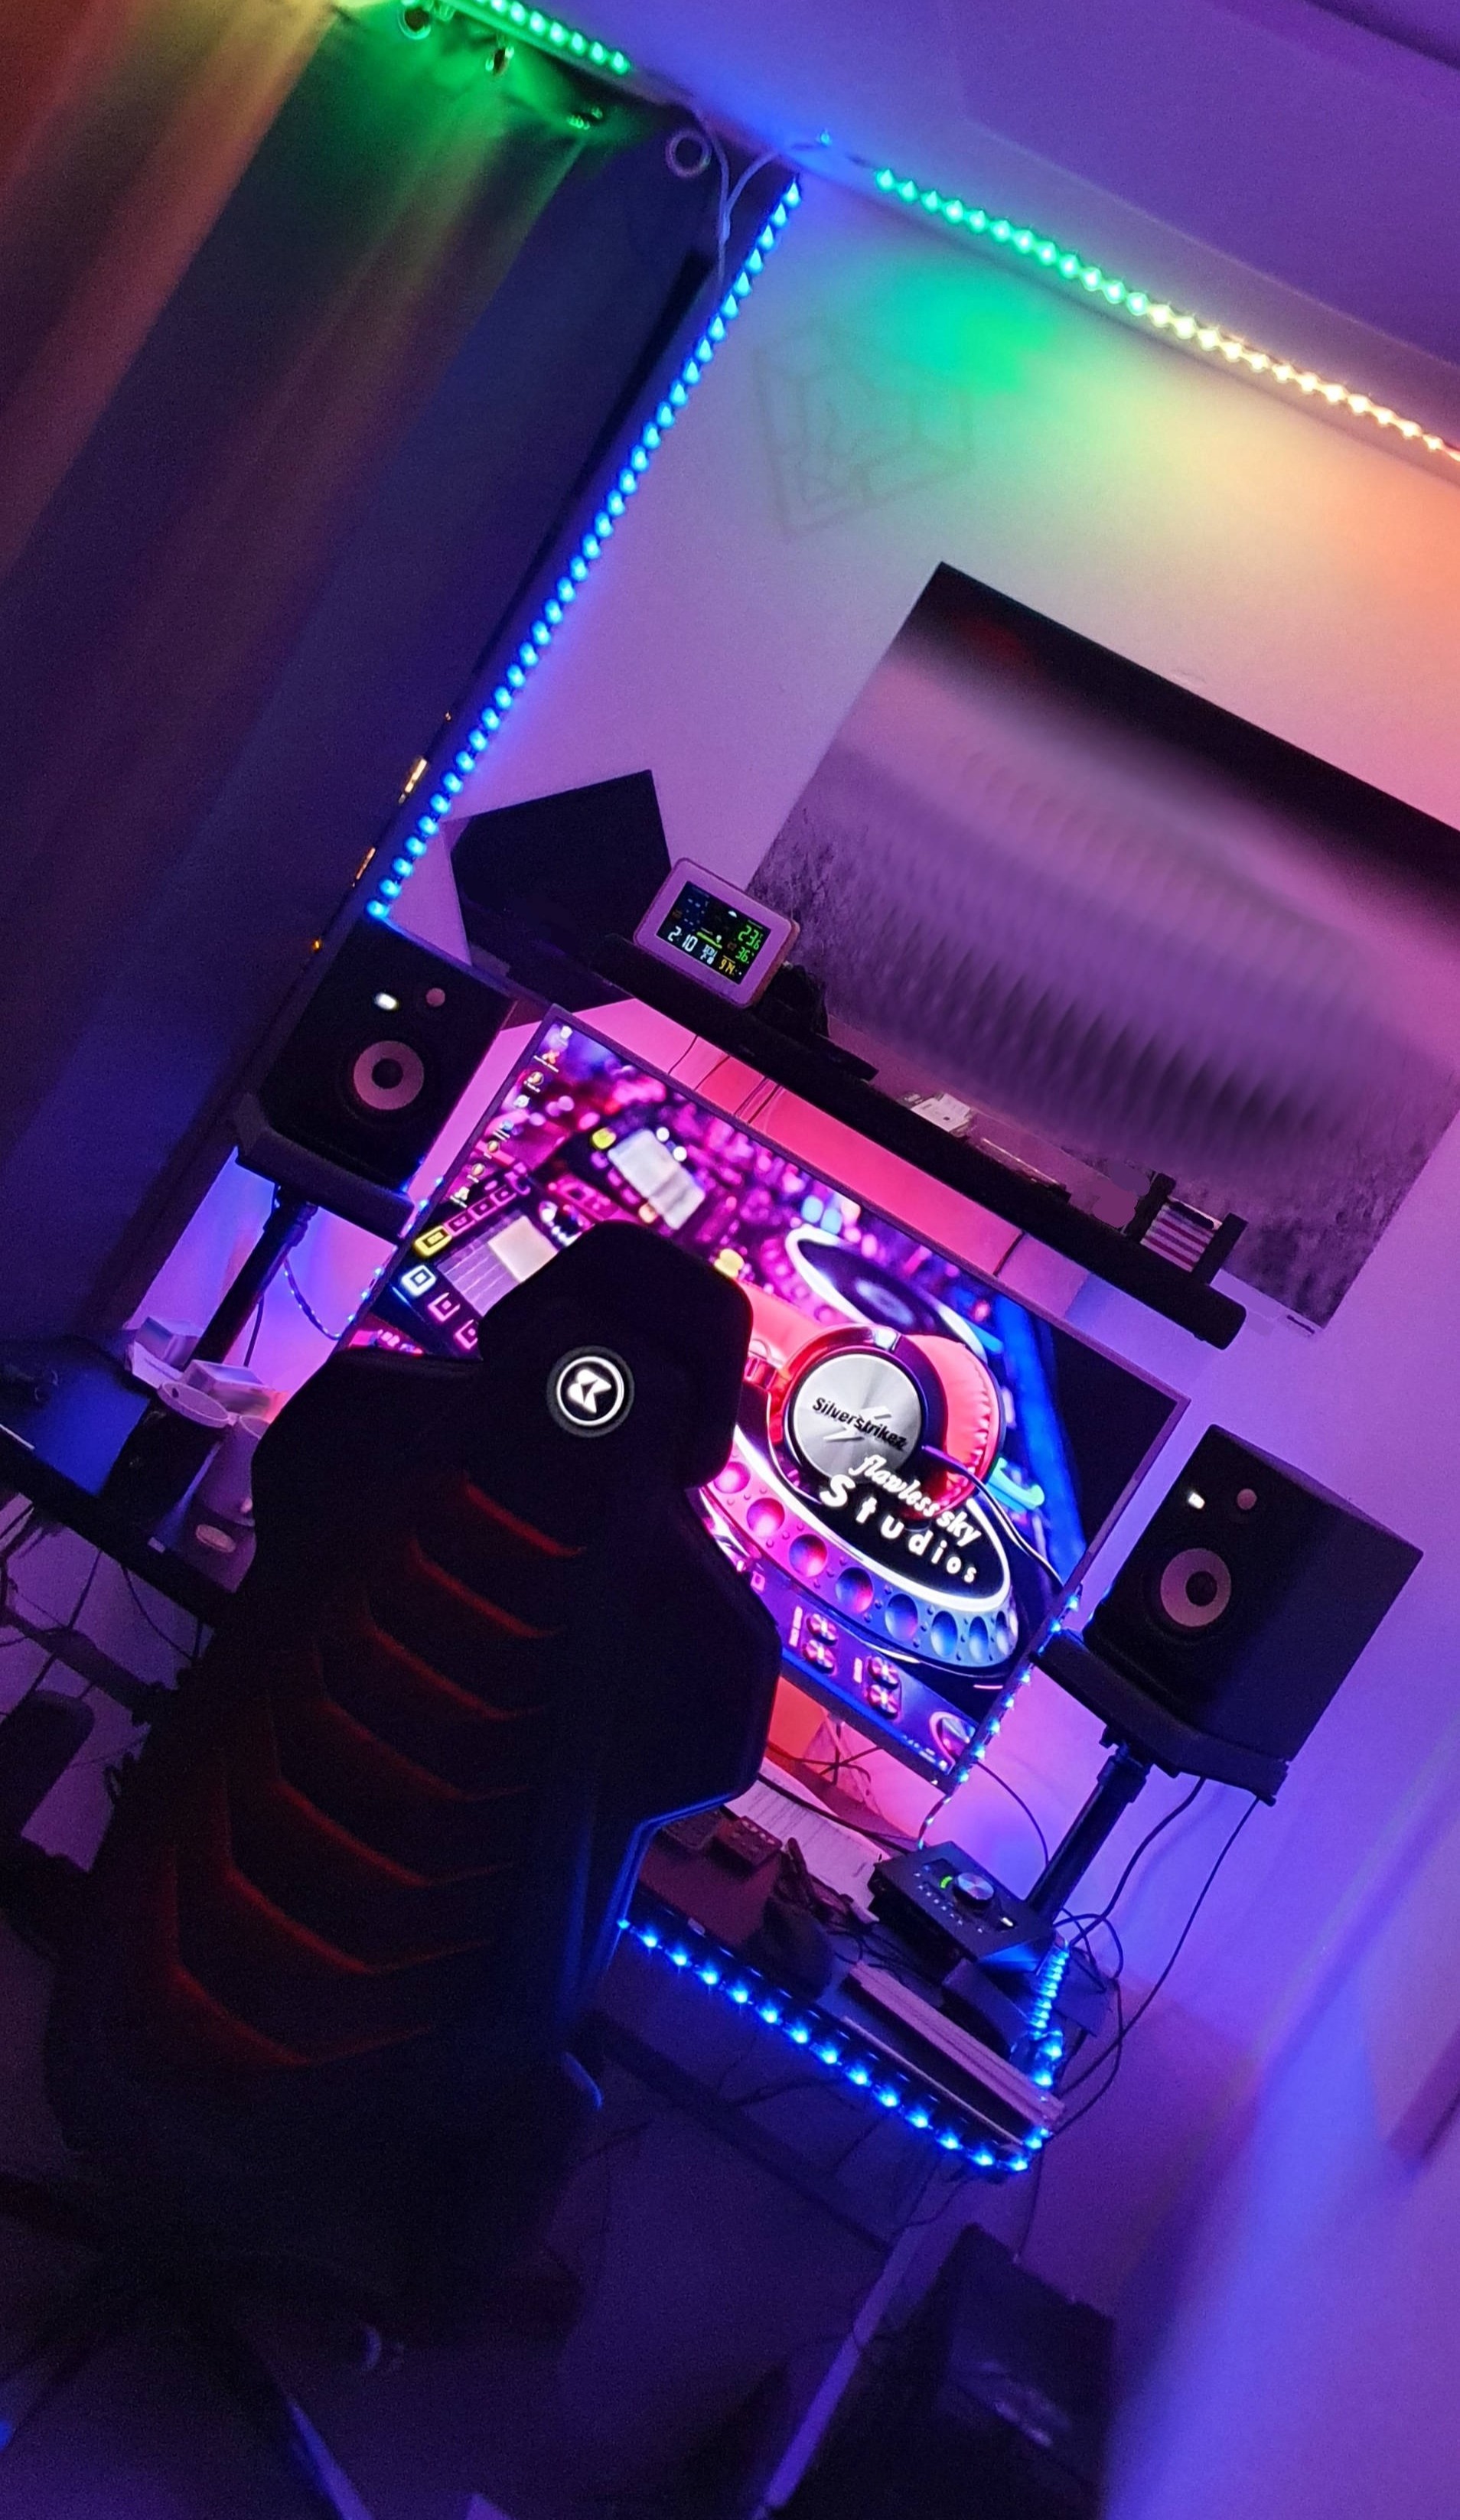
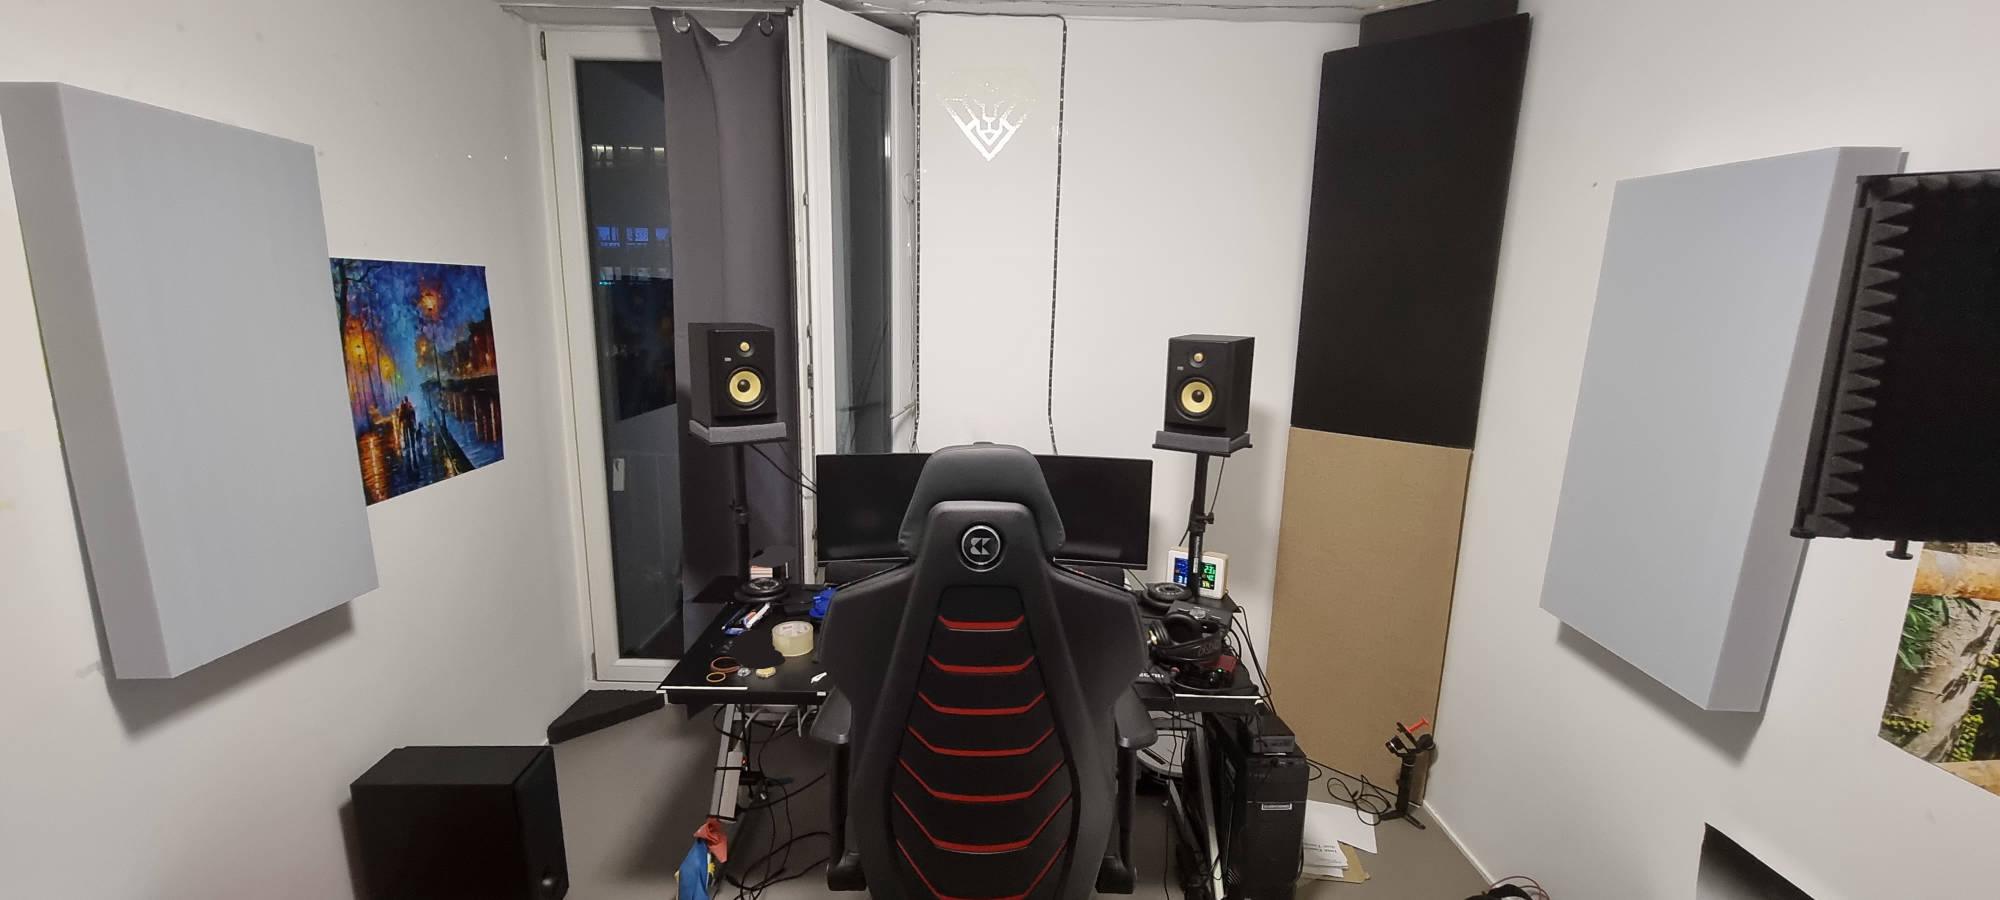
01.12.2020 - first Monitoring Speakers
The Issue of Asymmetry, small angle, closeness to wall and listener, air flow restriction and major comb filtering.
On the long term there has always been only one solution to improve this full setup. And that was finally found via over a year of experimentation, constant testing, precise measurements, mathematical planning and real world testing by moving the speakers around a lot.
Combined with finding solutions for the compromises that had to be made and creative ideas on how to enable big functionality with less by smart design and effective placement.
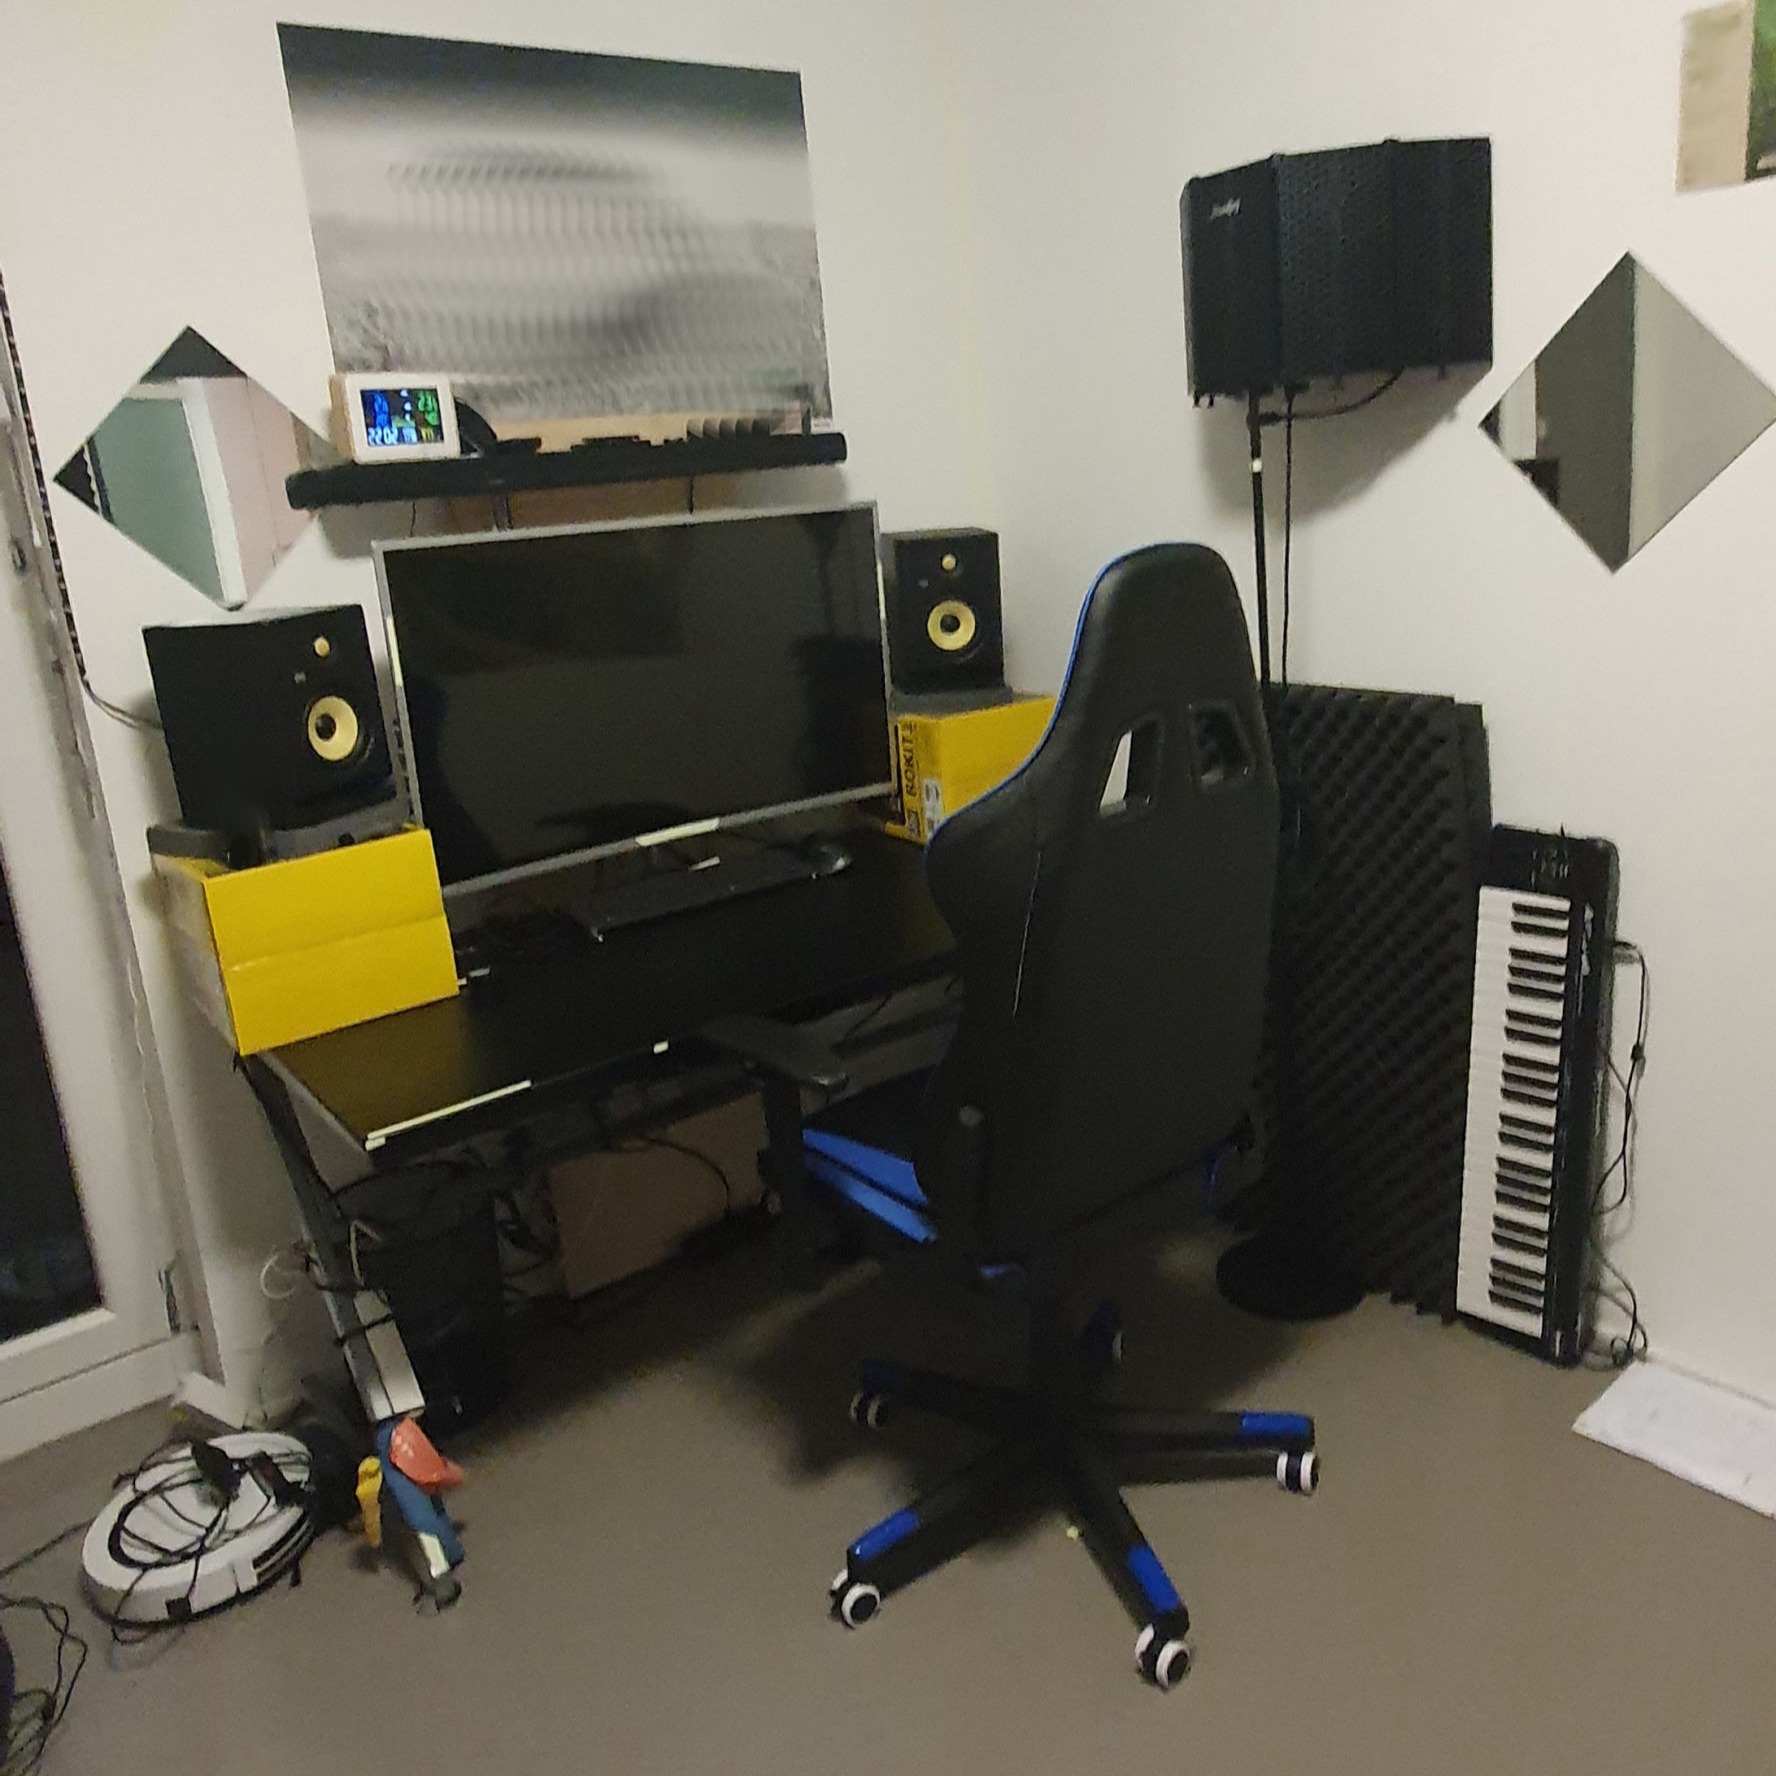
As awesome as the KRKs are, in the end their performance was limited by a lot of factors. The big screen introduced comb filtering, the setting has been very asymmetrical as the table would have to stand in front of the windows (limiting fresh air) in order to be centered. Another issue of asymmetry was the one speaker being in the room corner whilst the other one was in the middle of the room.
Although the table is not small and the big 40 inch screen forced placement apart it was neither a equilateral triangle with the seat nor was it spread far enough. The airflow being restricted as the speakers were about touching the front wall did not help either.
I also went through the wrong treatment for addressing bass issues and had to start over several times on placing and planning the mix of Acoustic Treatment. I went from 7cm foam to 35cm foam edges to a lot of Basotect G in 2cm width until I finally leveled up and invested a lot of money and time for now professionally manufactured panels from GIK and AddictiveSound in combination with several self-built panels using 5000 pa/m^2 Rockwool and thick Basotect G+ panels with a width of no less than 10cm in total. Finally Studio A had been treated from ceiling to ground including all 4 walls with even minor elements like the door, the windows. closet and more.
Before any changes have been made to the original setup with the KRKs I produced the trap beat as last track on this very unoptimized setup. The Bass in this track is pure power, which comes also down to the right speaker being insanely bass boosted, which i tried to compensate on the left speaker. The final result has been a way to loud bass line but I am absolutely in love with the vibe it creates :)
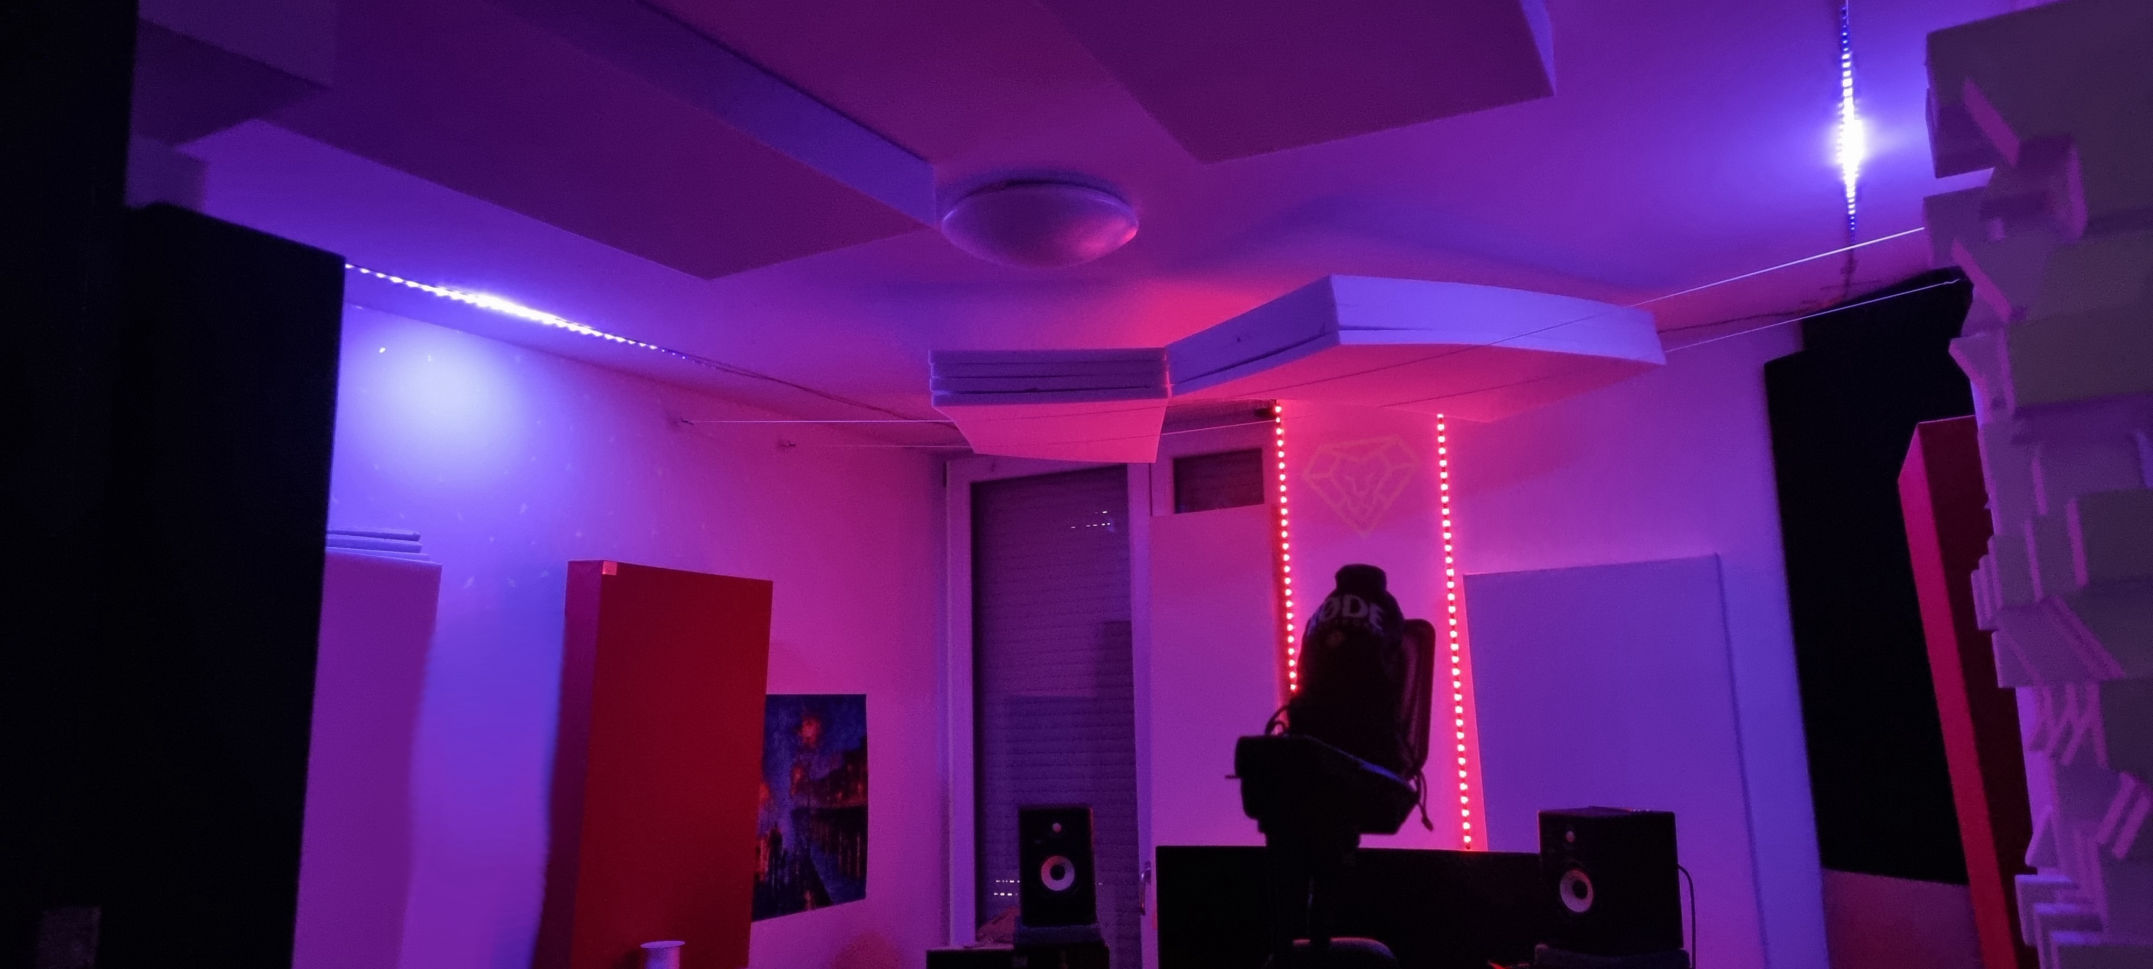
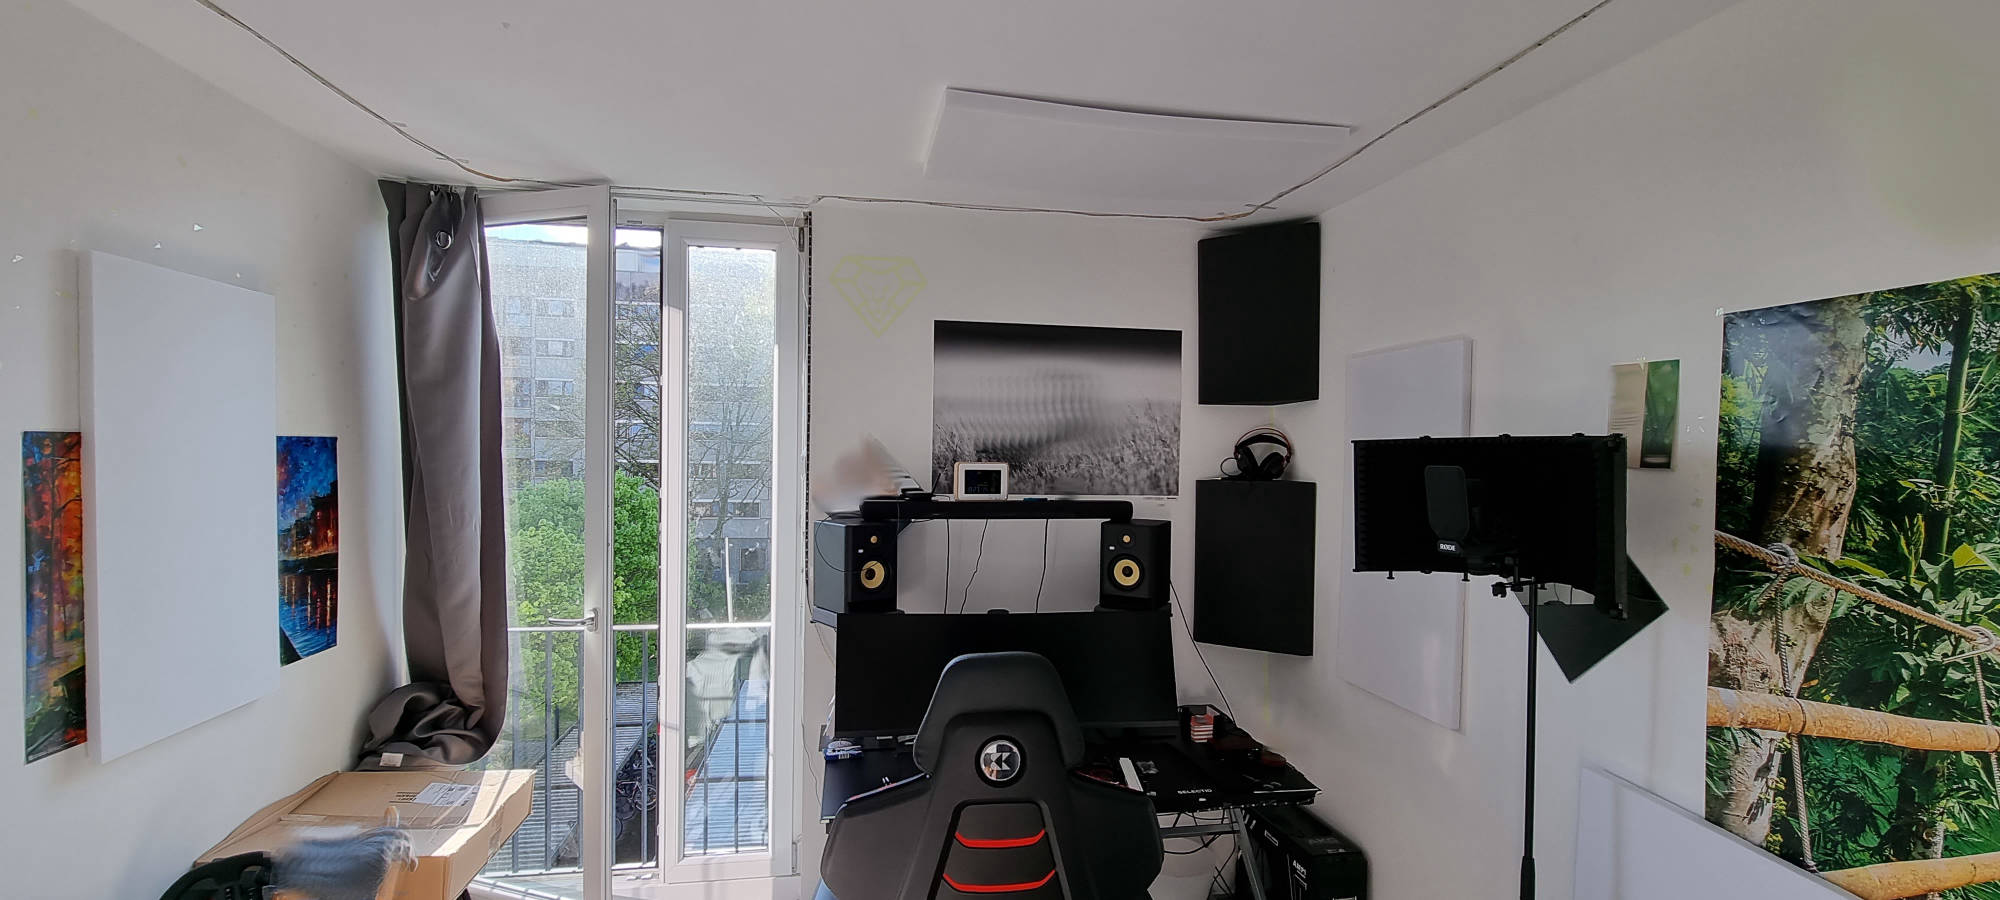
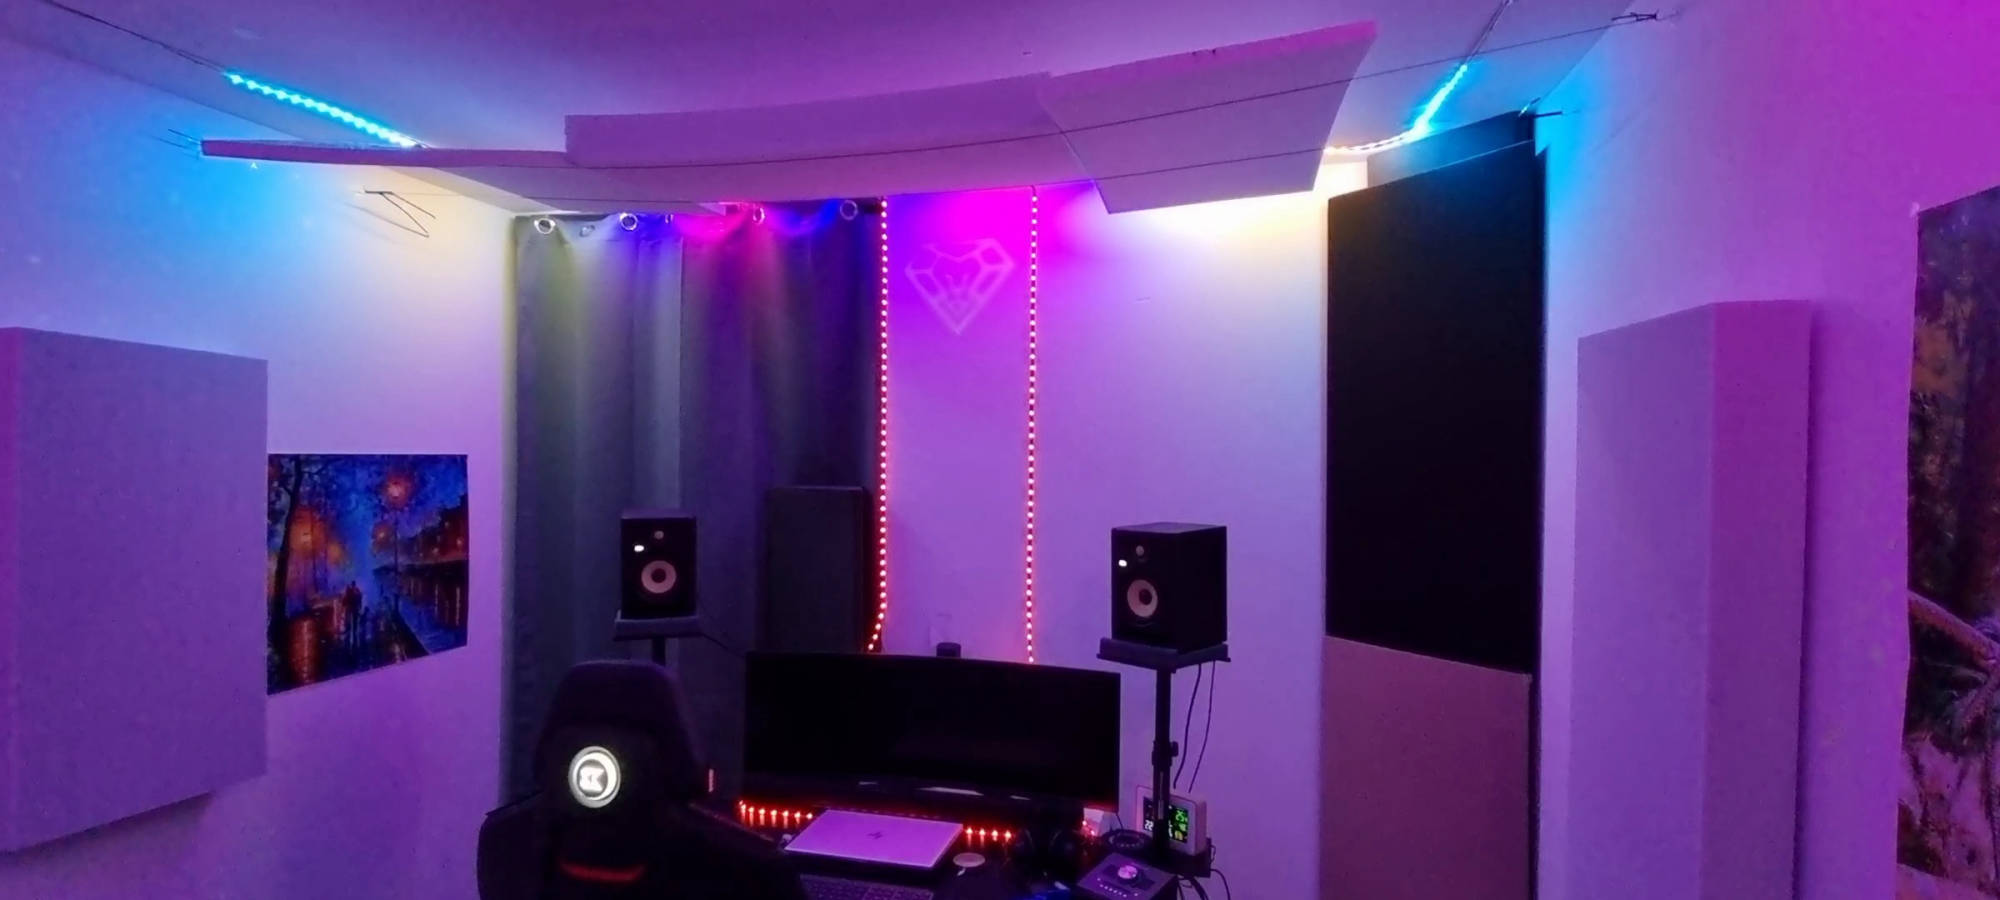
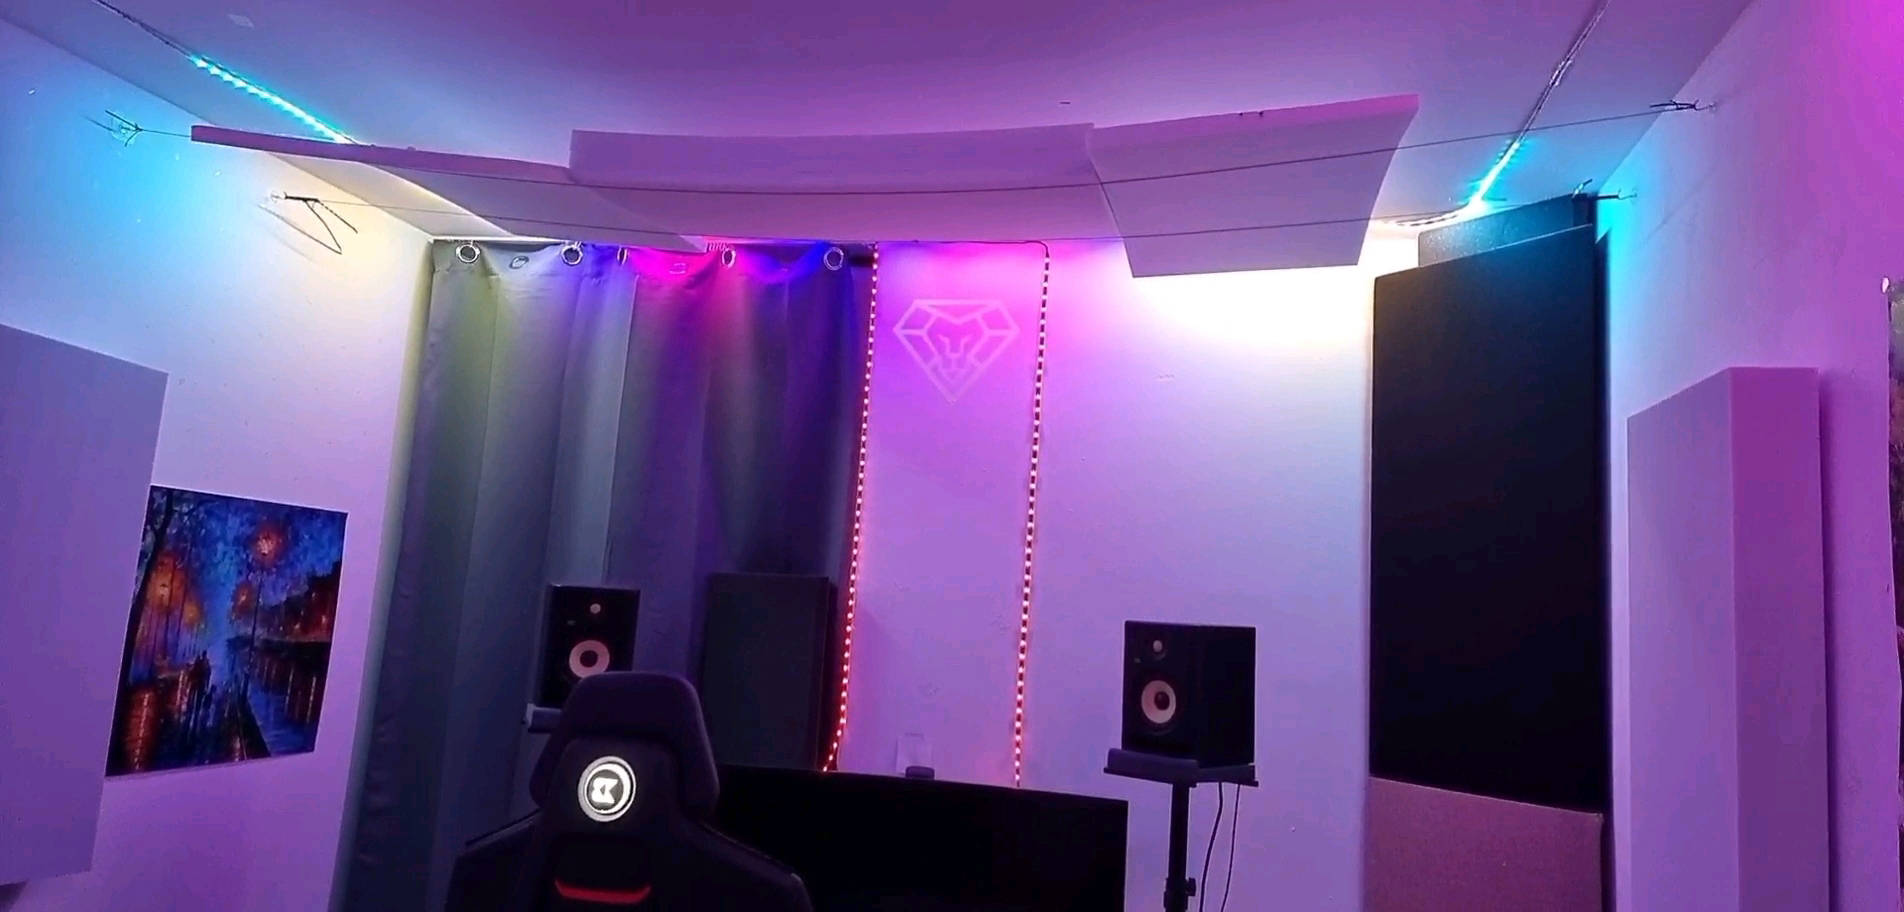
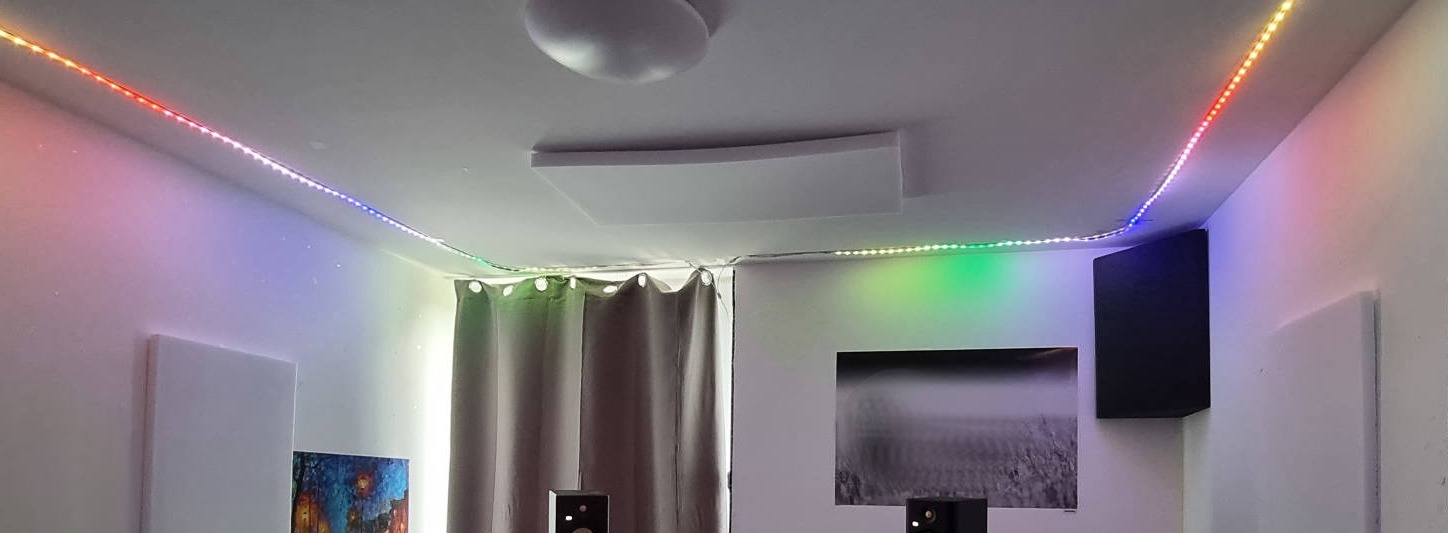
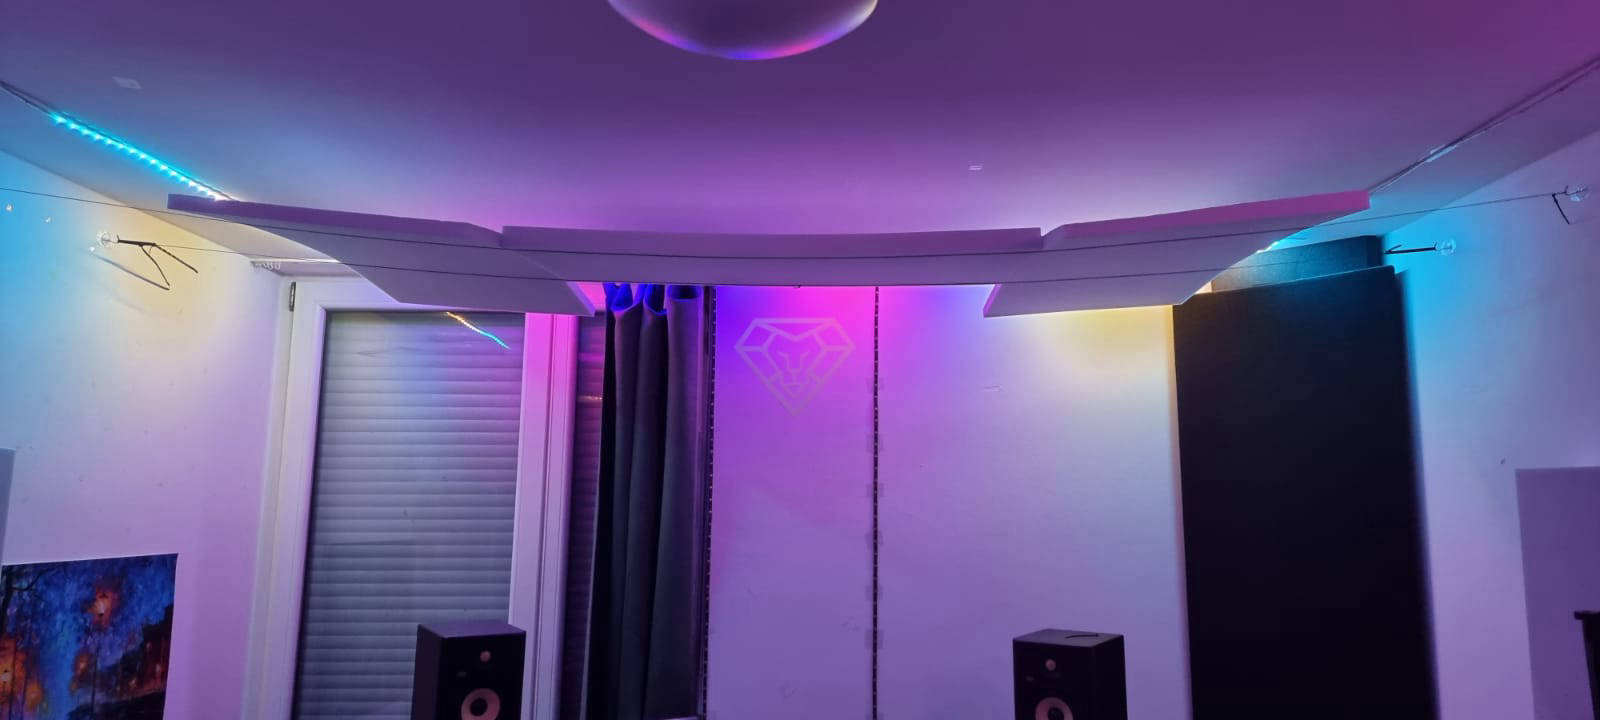
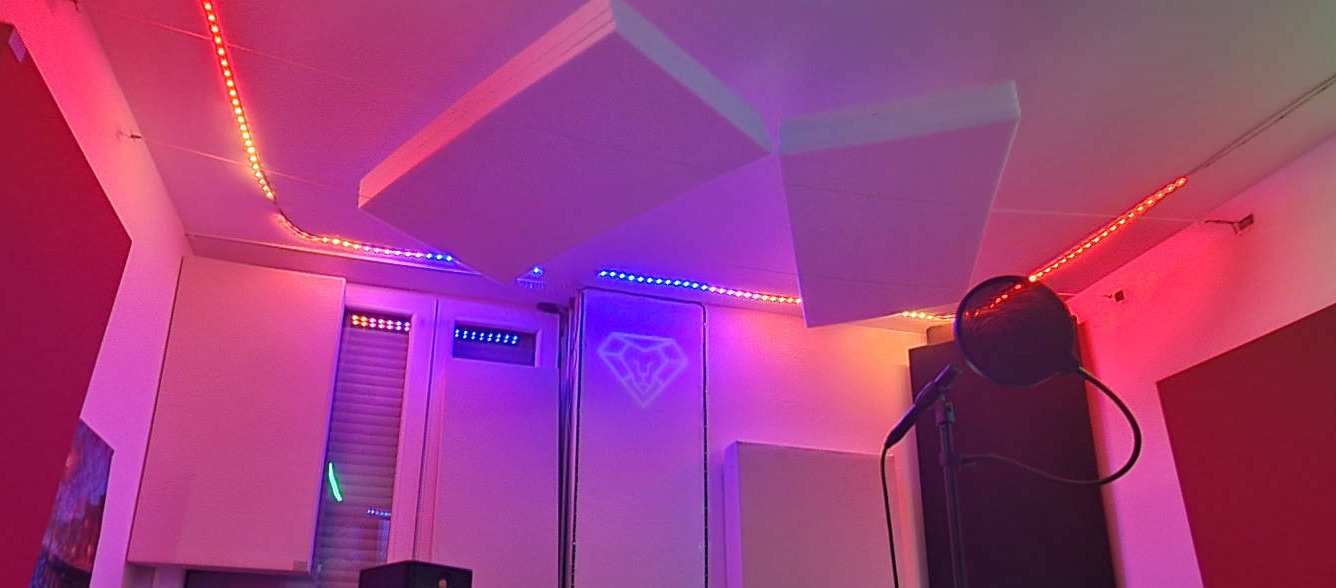
THE EVOLUTION OF THE FRONT CEILING
Studio A's biggest standing wave issue has been coming from out of the upper left corner.
Although the frequency range is quite well treatable it's been quite hard to find a good compromise. The frequency still is a quite mystic thing to play within the Studio today as it often times disappears but without treatment keeps adding up to it's energy for so long that you can easily hear it ringing out into silence (~0.6s decay).
As the frequency added up within the corner of the windows in order to fix it I had to sacrifice the option for fully opening the window. Fresh air now takes longer to fill the room and includes opening the door for a full refreshment.
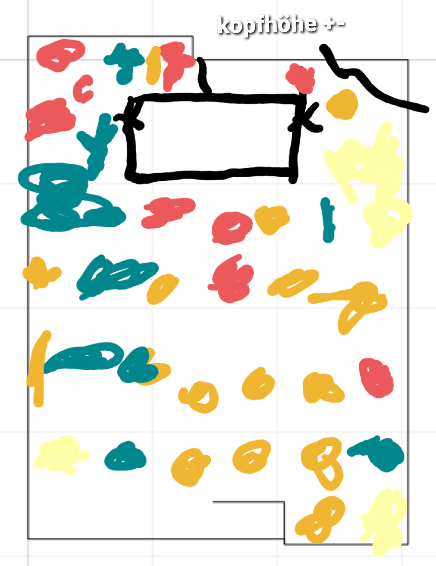
Below you can see the plans that have been made on finding pressure zones for this specific frequency along with early time response measurements on 17th June of 2021
with KRK G4s only (no Subwoofer) and without exact time calibration (no loopback cable).

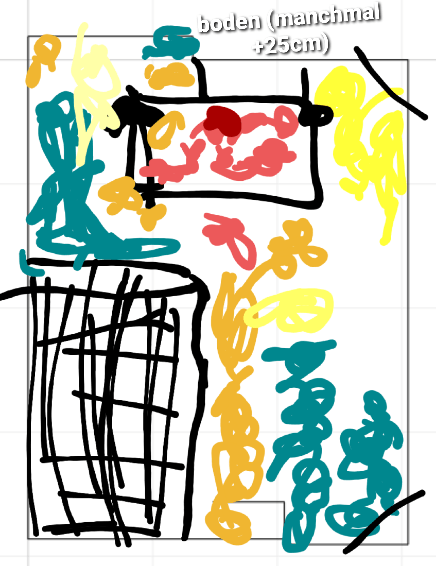
red = booming & very loud (high soundpressure), orange = medium, yellow = audible, green = inaudible
red = booming & very loud (high soundpressure), orange = medium, yellow = audible, green = inaudible
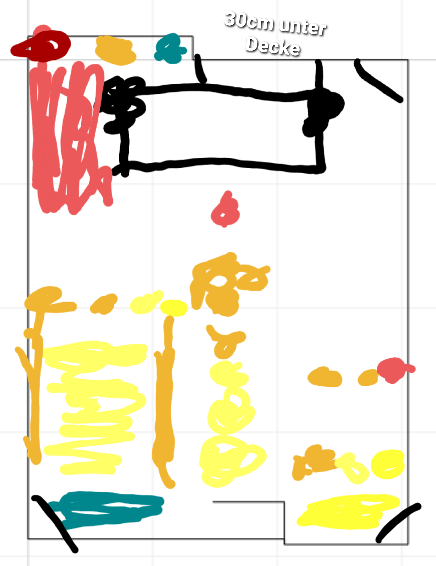
red = booming & very loud (high soundpressure), orange = medium, yellow = audible, green = inaudible
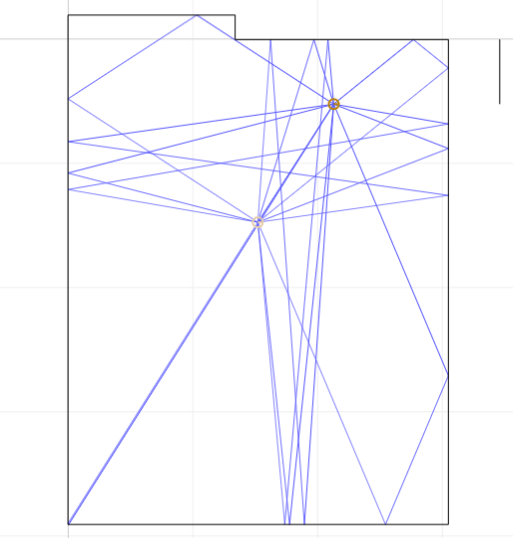
162cm to Front has been the ListenerSpot at that time.
Reflections until 2nd order shown.
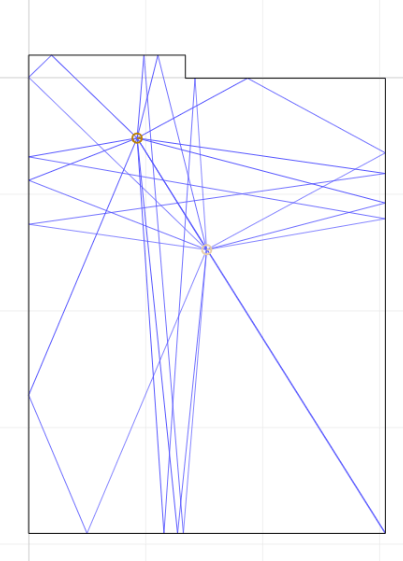
162cm to Front has been the ListenerSpot at that time.
Reflections until 2nd order shown.
After a lot of work and also many self-built Rockwool Velocity Trap Absorbers the problem could be improved 10 days later.
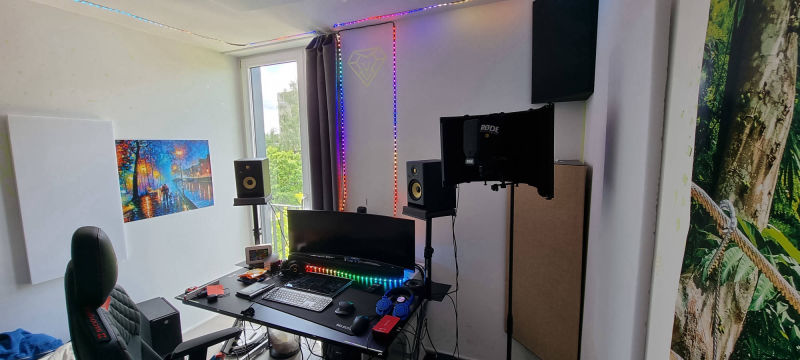
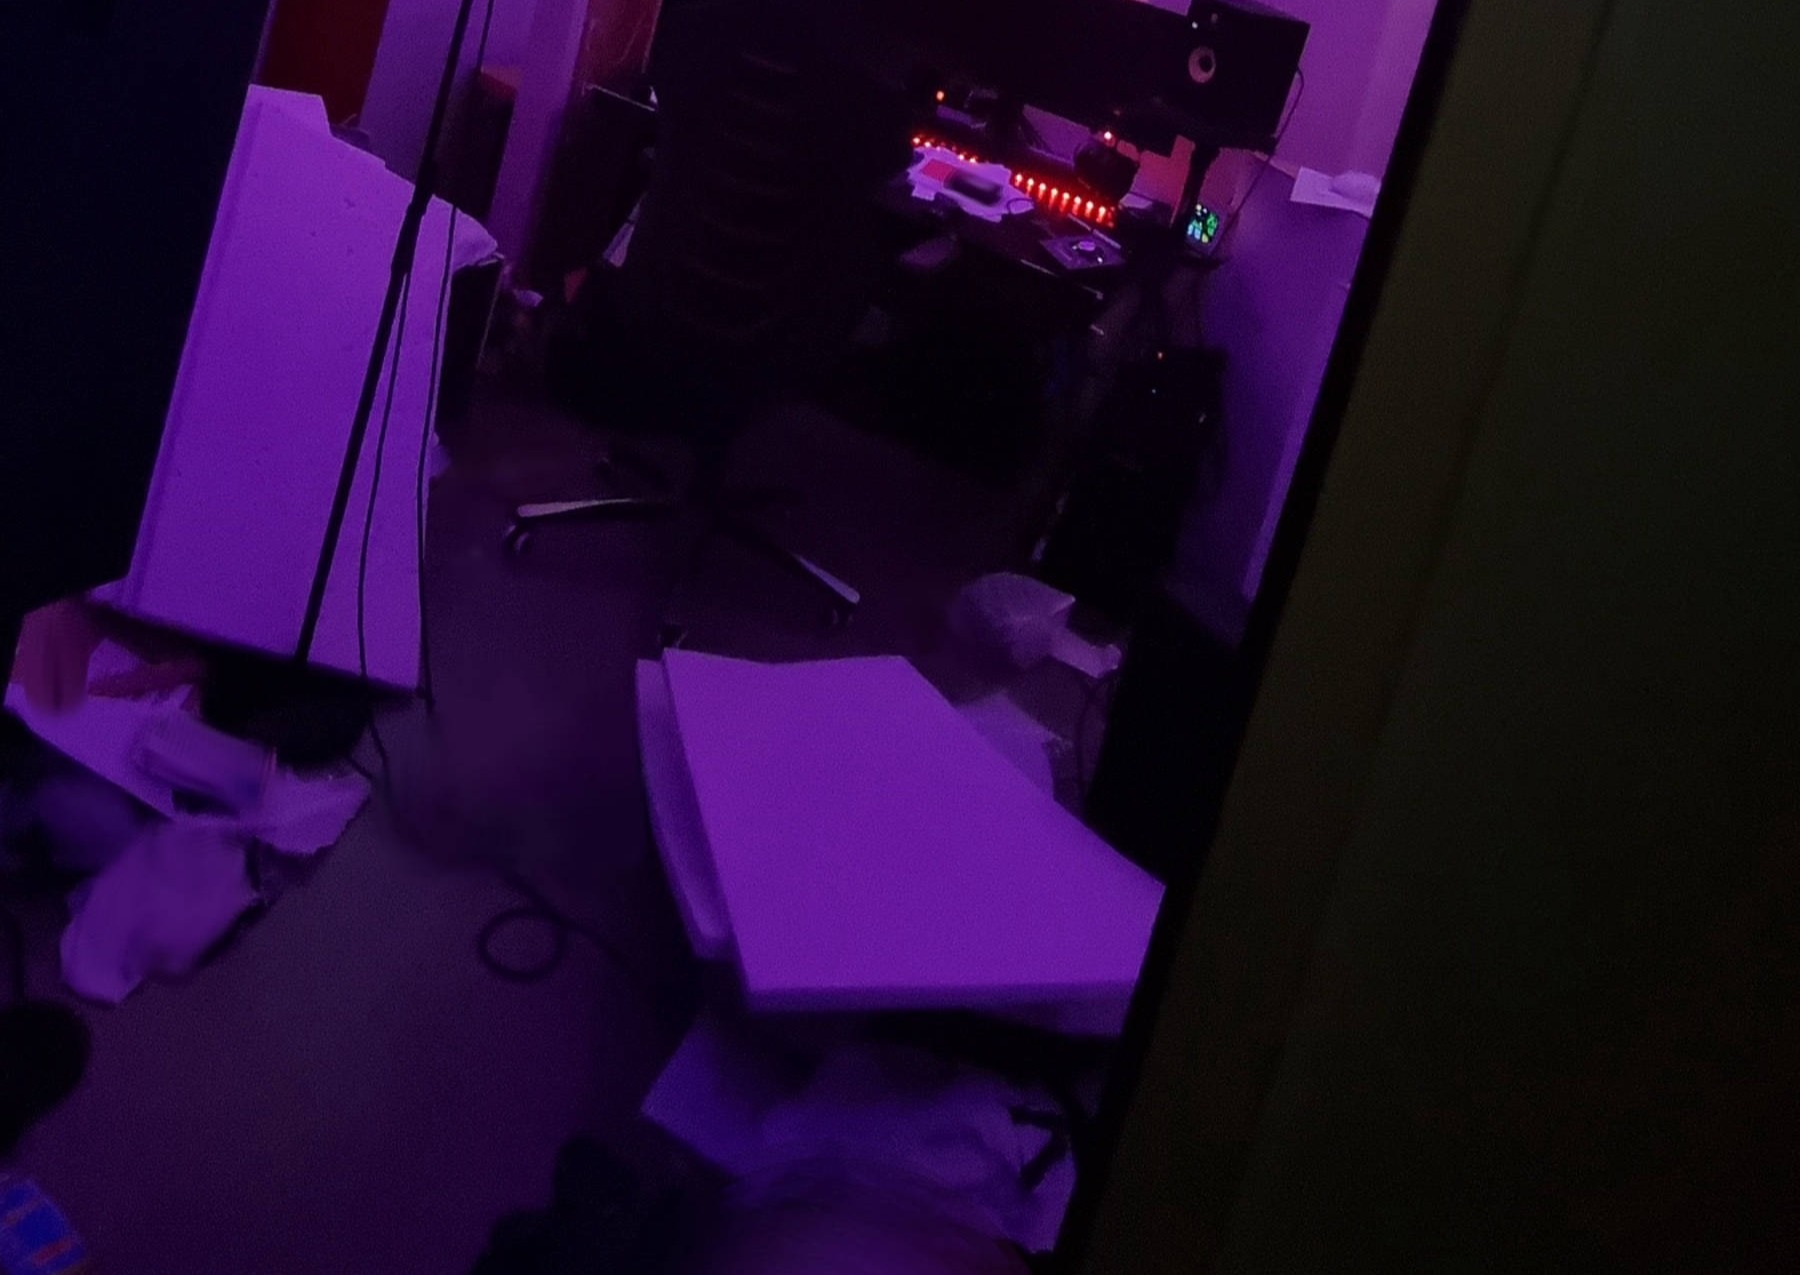
Over time there were several solutions. For a long time there has been a 12cm AddictiveSound Premium Absorber with around 10kg that had to be hung up manually each time you wanted to listen seriously. Every time you needed fresh air you had to get a chair, step up and fish for the attachment rope for being able to open the window.
After about 2 month laziness took over - it's been the access to fresh air which won in the long term. So I had to search for different solutions and went for another 2 GIK Tri-Traps, that as long as not manufactured, had to be represented by 2 AddictiveSound Tri-Traps.
Today there's access to fresh air as one window can still be opened for about a quarter of the way. Which is enough if you bring time with you and open the entry door along with it.
The GIKs also improved this frequency issue a bit more but the rest had to be done by fine tuning the speaker placement in order to get closest-to-perfect values for each response parameter including the stereo image.
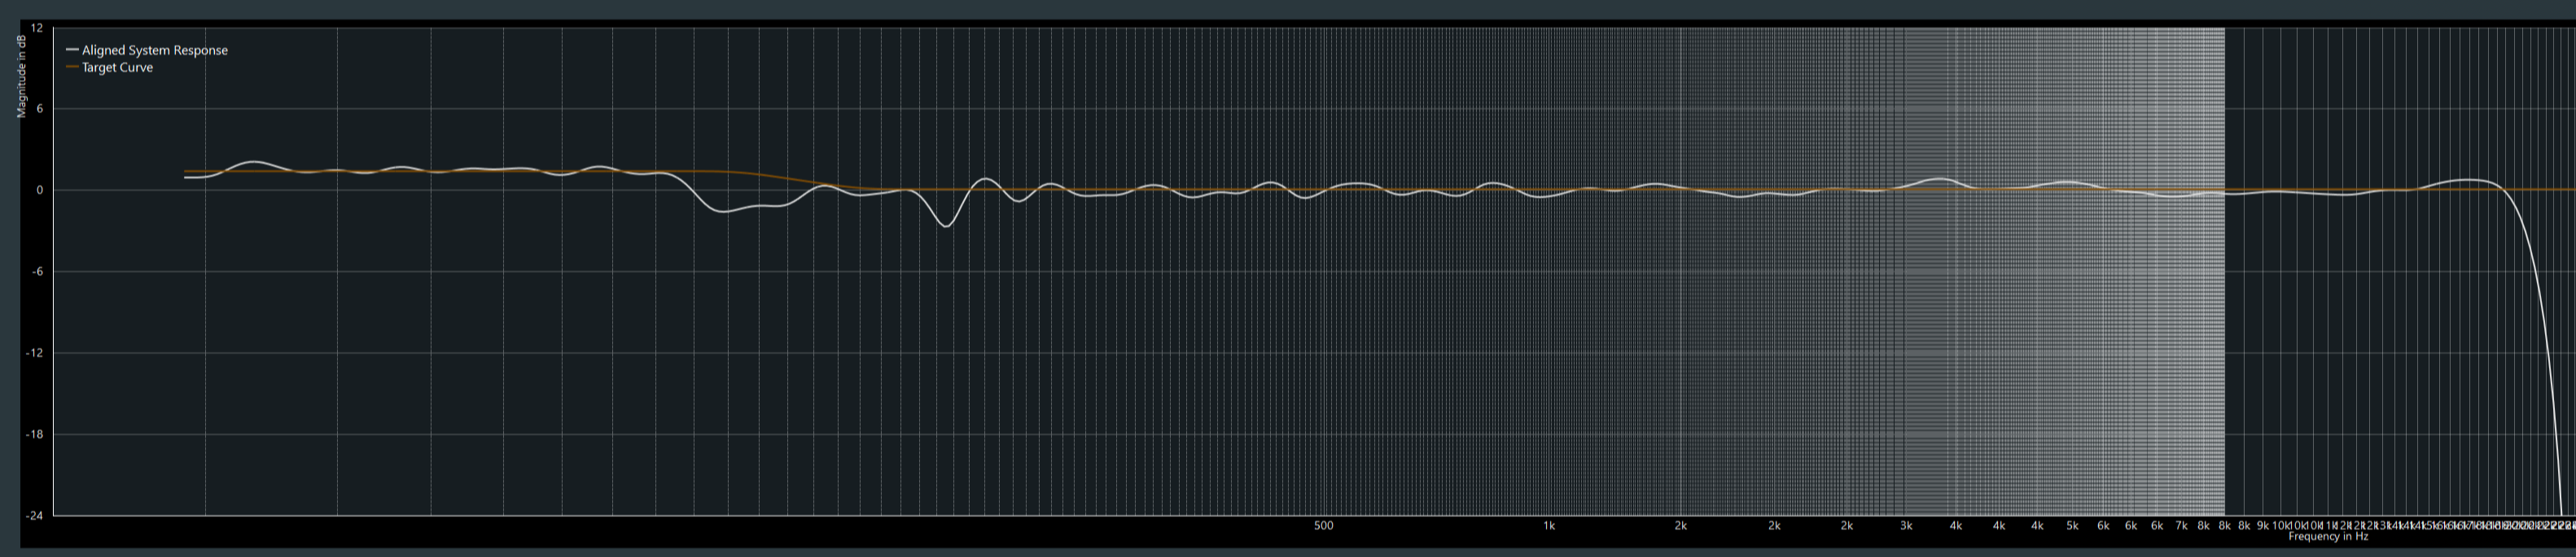
Having fixed all time response related issues it came down to optimizing frequency response and placement.
Before adding Treatment again multiple measurements from corner to corner, measurements from corner to points on the center line of the room, as well as measurements using ears the optimal bass response has been found.
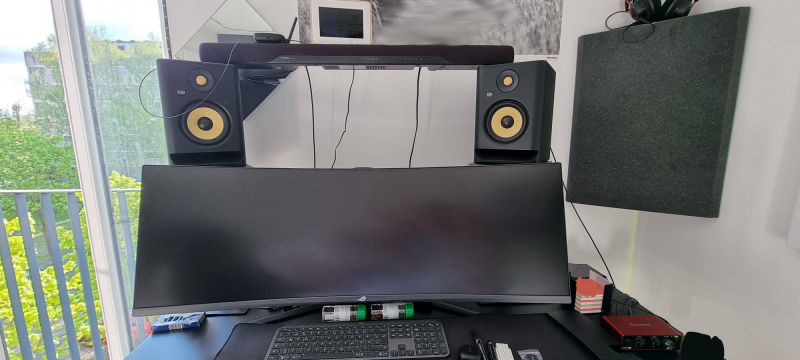
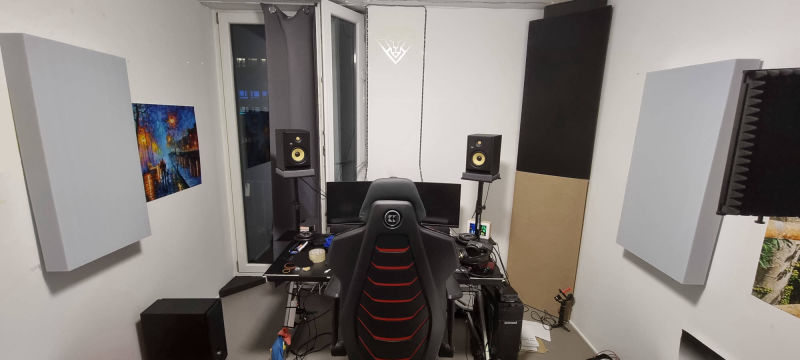
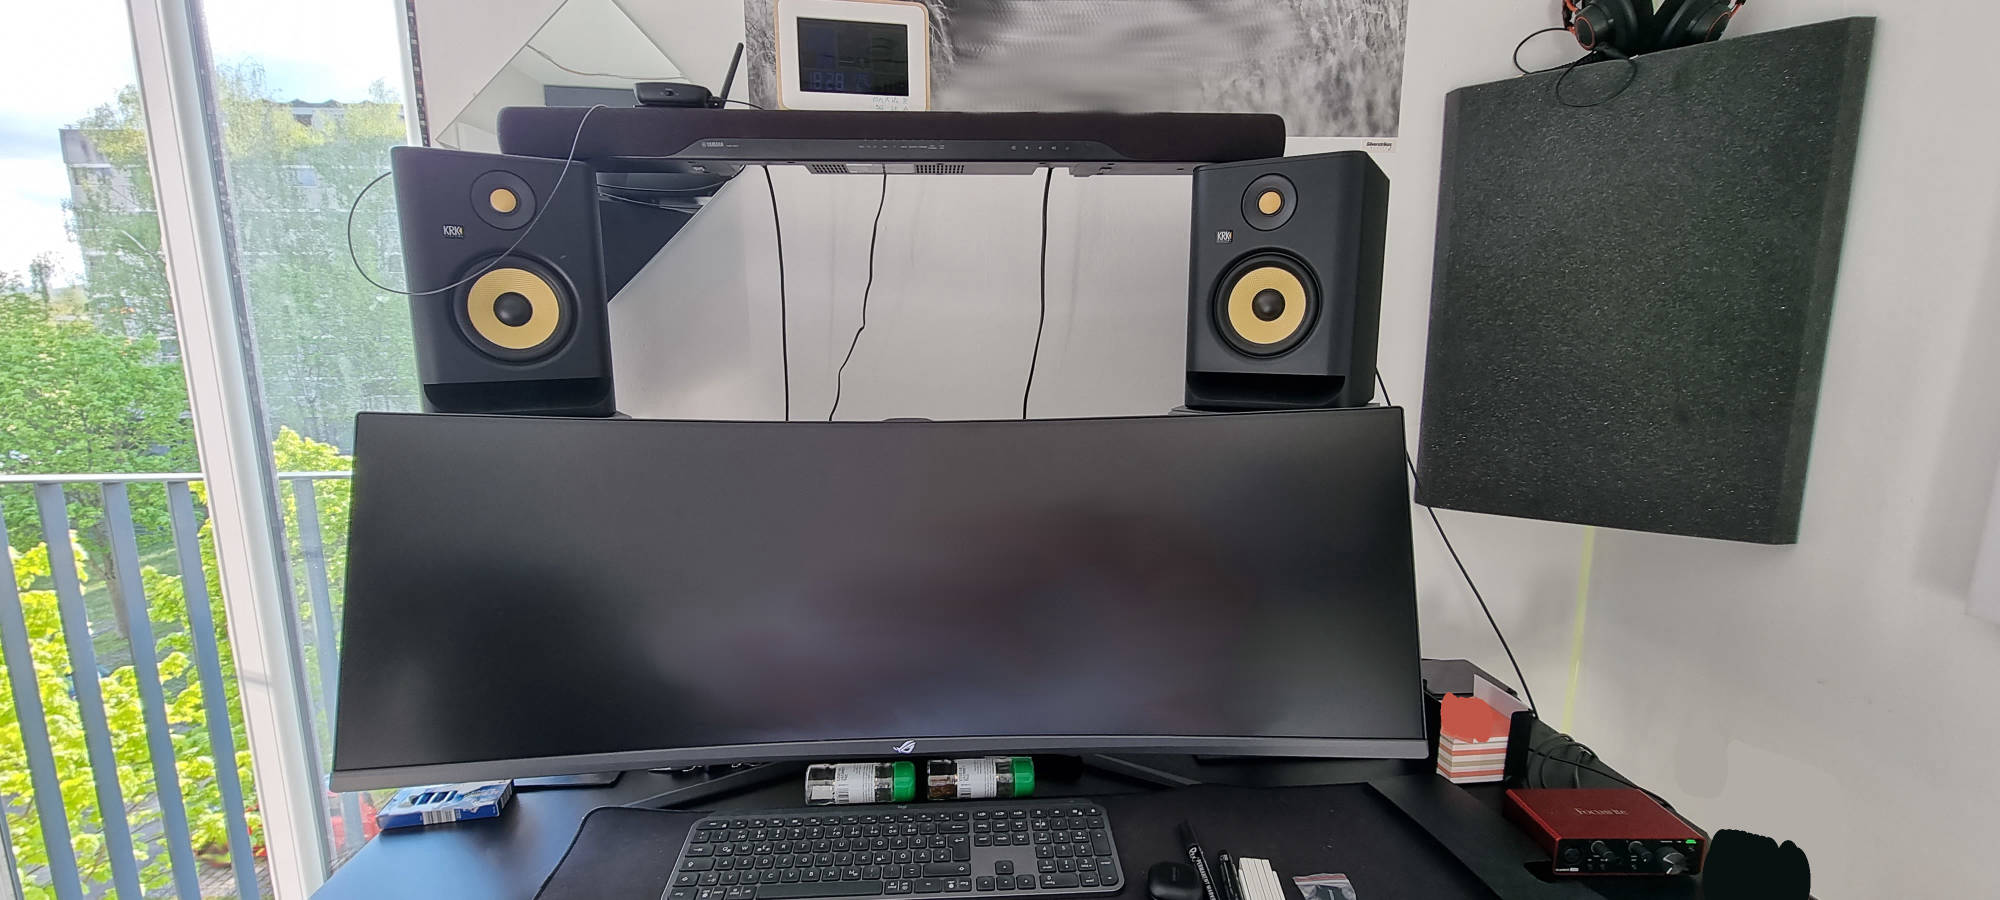
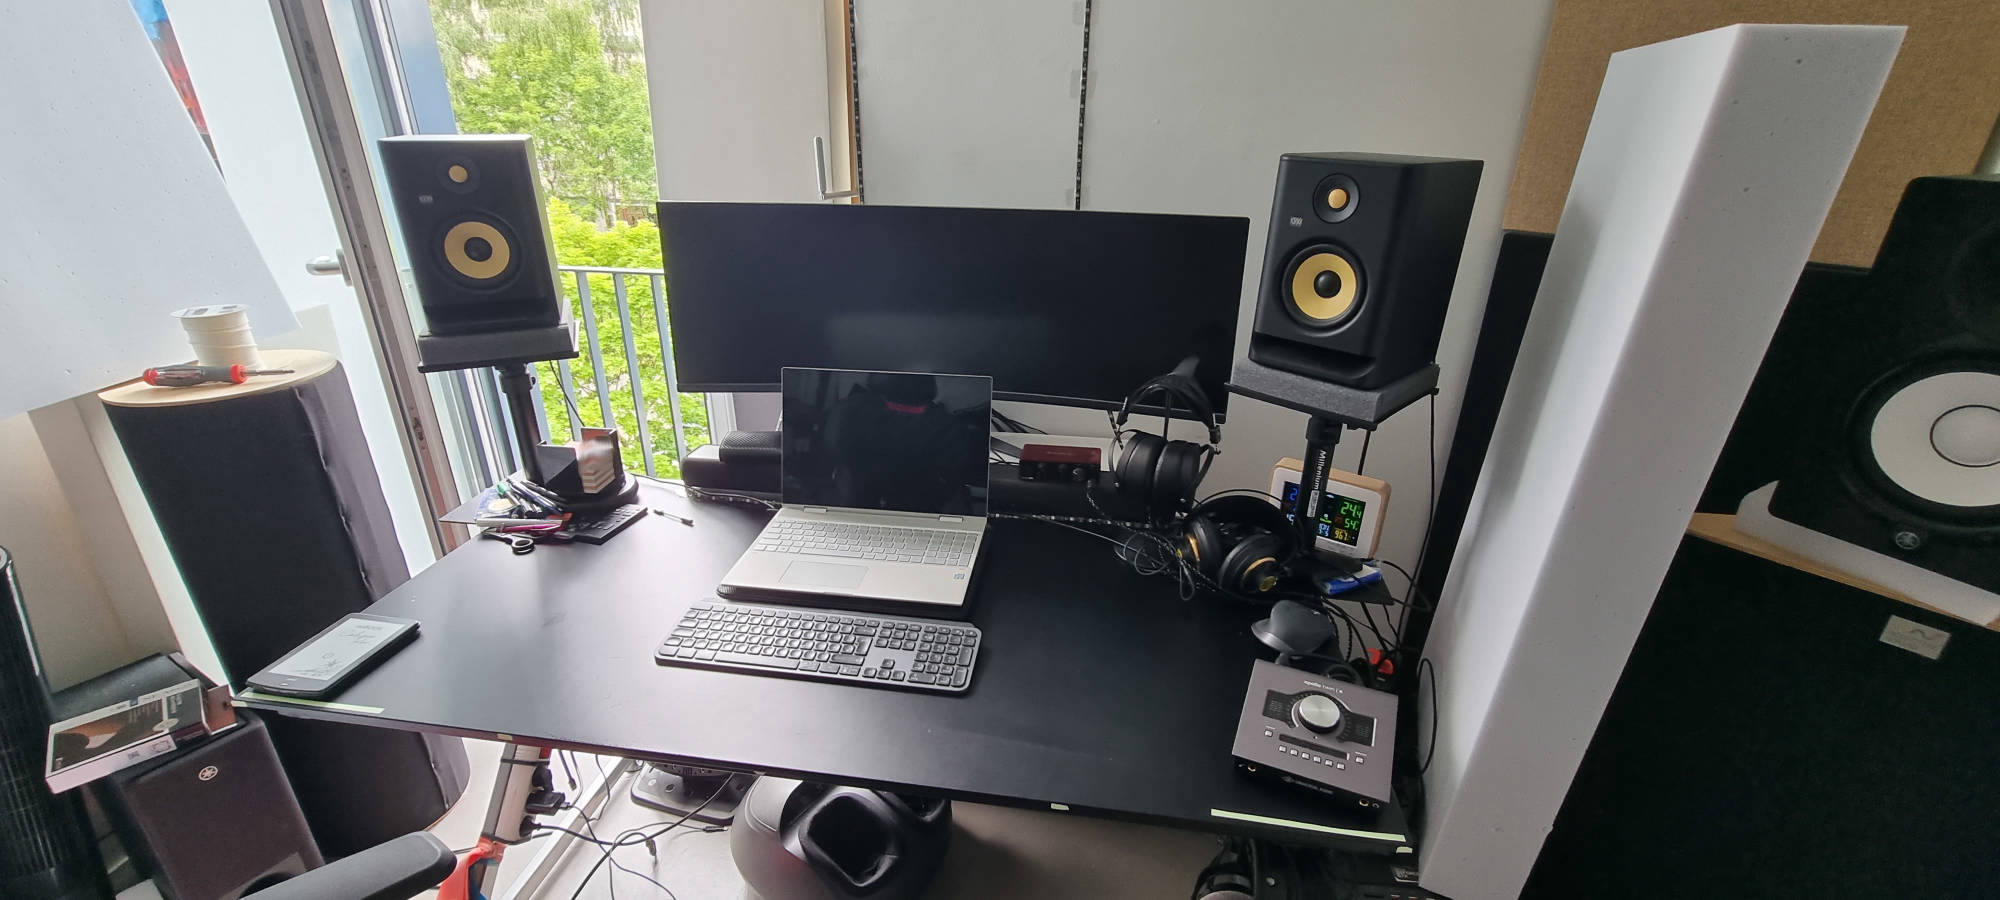
The KRKs have been swapped with the Yamahas HS7s and the following process aimed for finding the widest possible sound-stage without harming bass response. The furthest possible distance between the speakers turned out to be 162cm, which made most of the bass frequencies audible.
The HS7s play down to 50Hz but in order to hear those frequencies properly, you have to allow them to get to the right velocity until the hit your ear. You do that by having at least a quarter of the wavelength in distance to the membranes. The final result has been audible until around 65Hz, below that level hearing was guesswork when many other frequencies played along with it.
Angles have been fine calibrated after correcting the listener spot to the real room center @+-2cm.
Testing the system for several weeks I detected bass smearing from the Acoustic Treatment below as the isolation foam was not decoupling enough. This got addressed in the step below.
From re-measuring the bass response to having dialed in the final setup placement including the angles it took me about 4 weeks of constant testing and experimentation while moving things around.
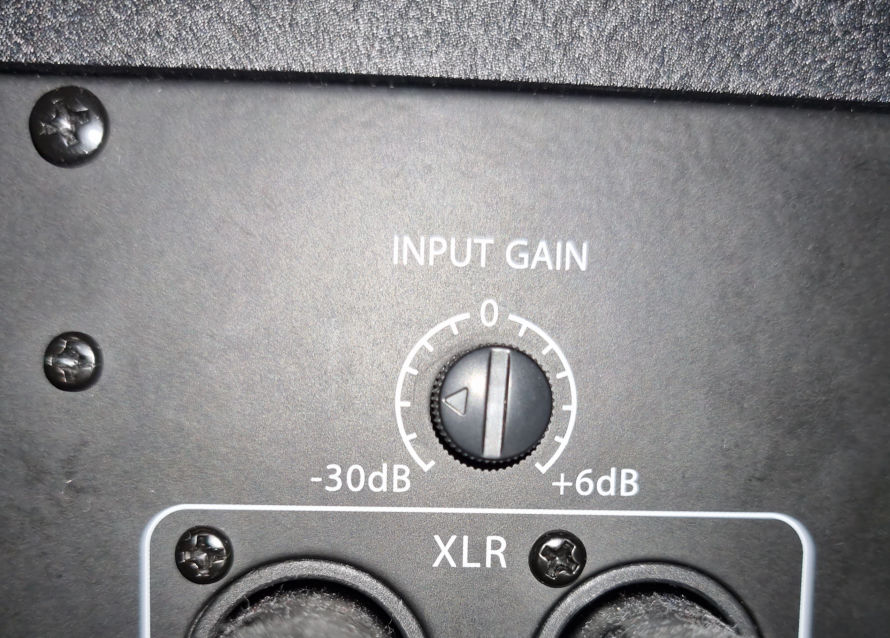
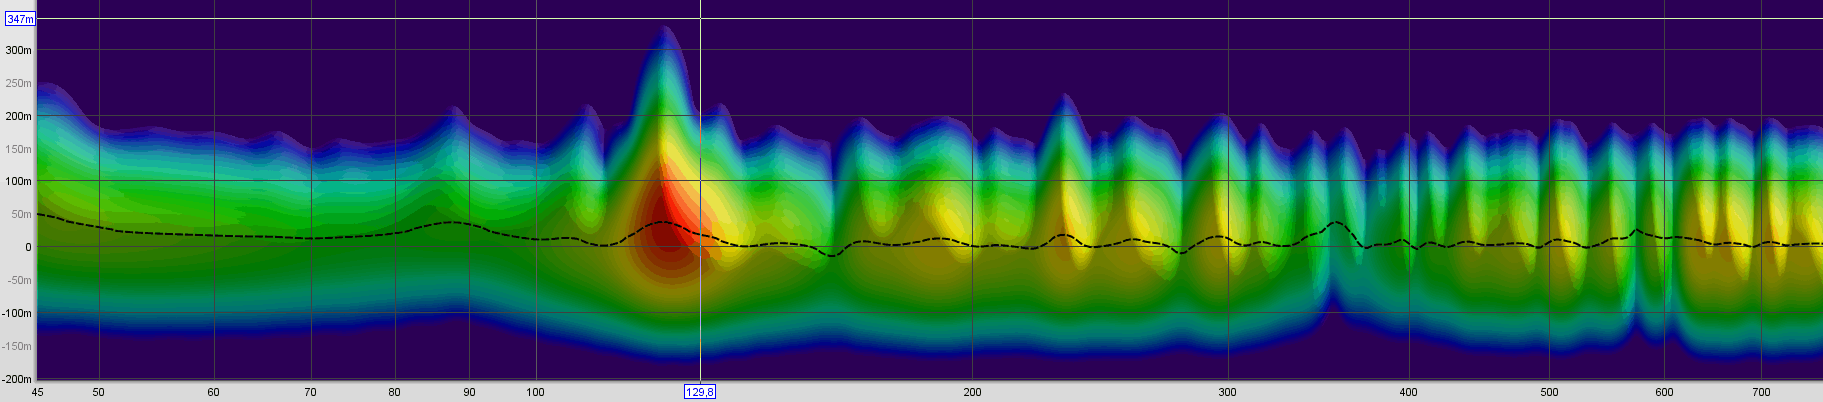
Analogue Volume Gain
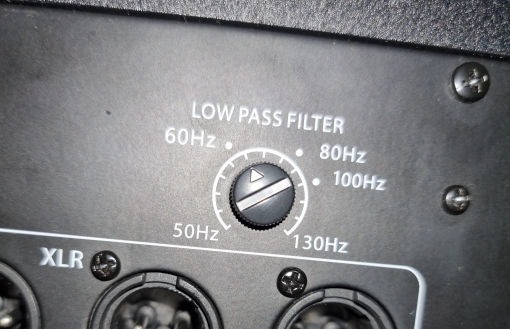
CrossOver @~64Hz
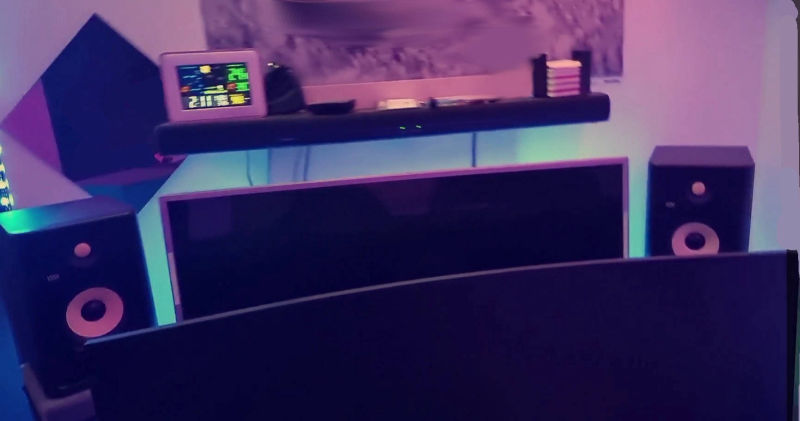
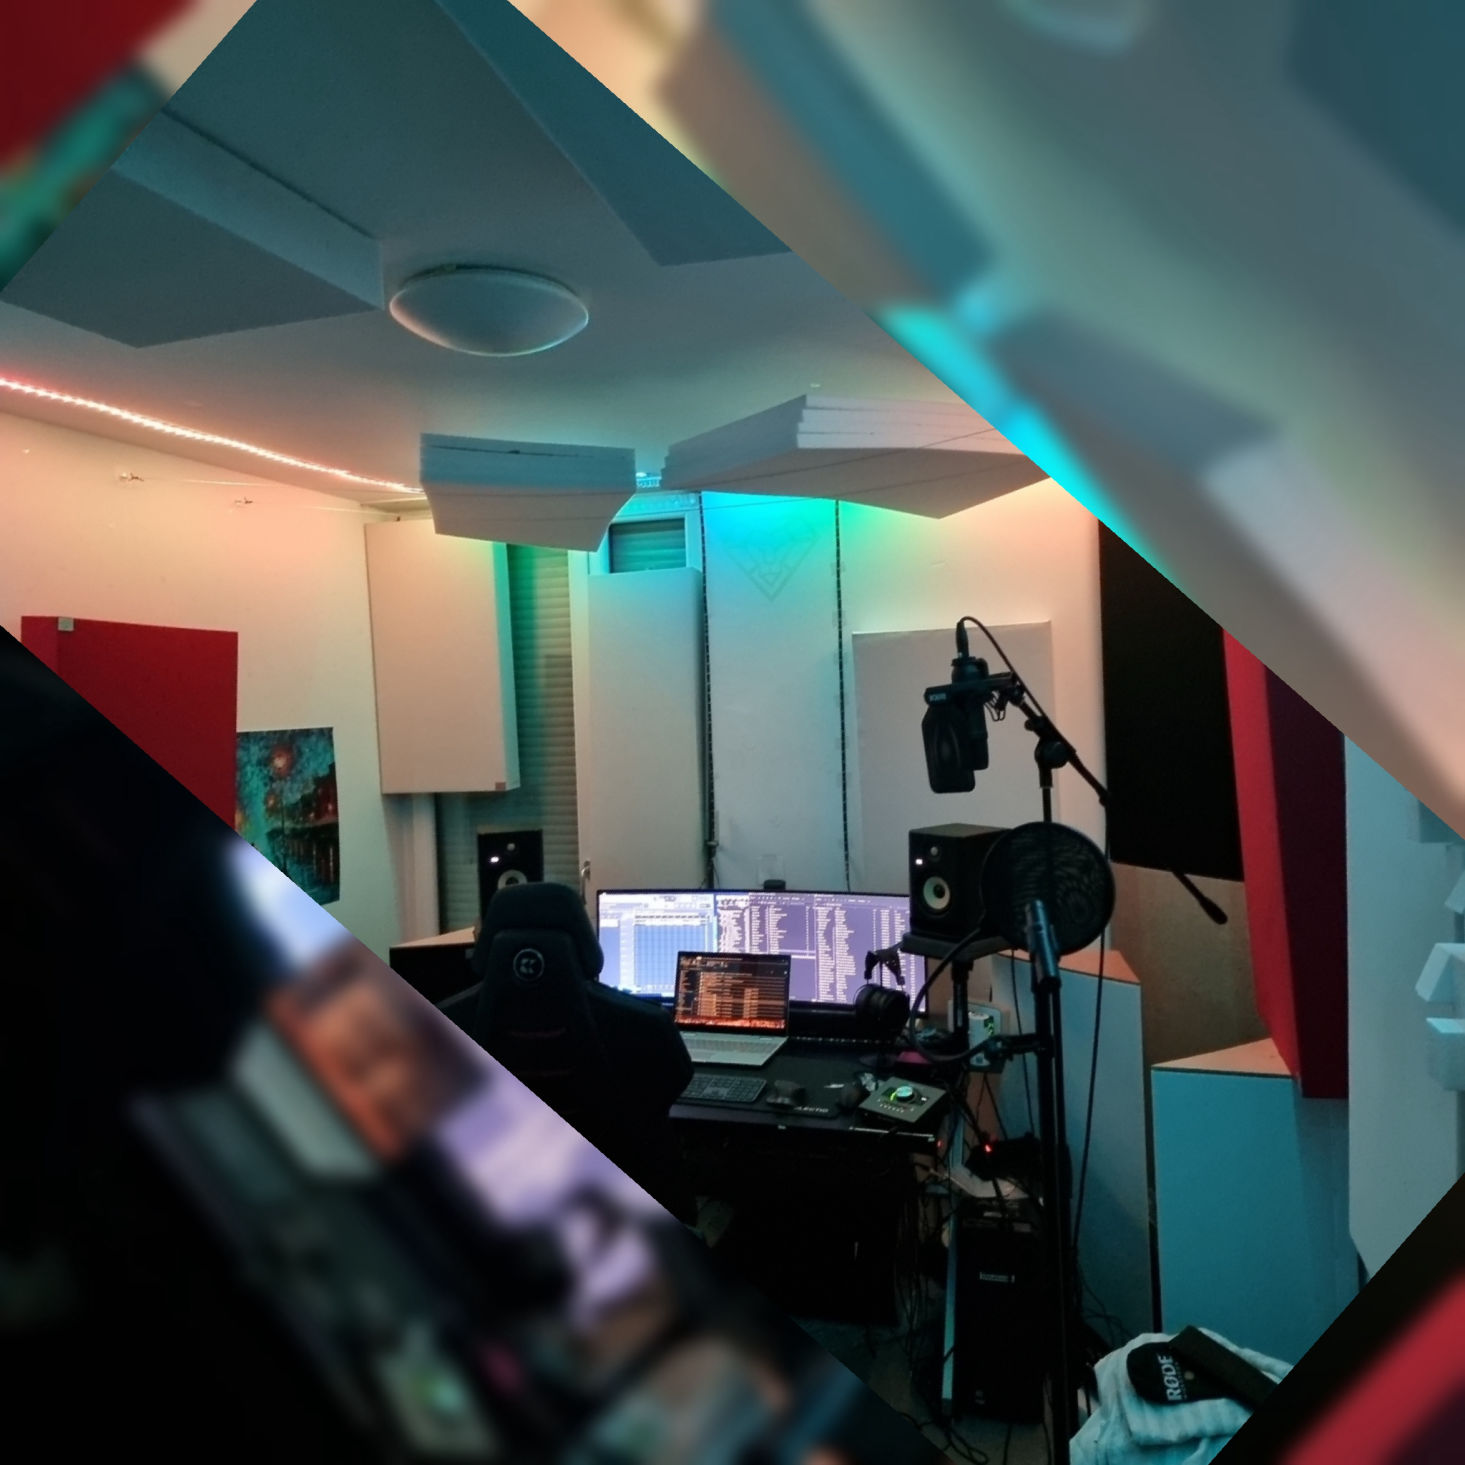
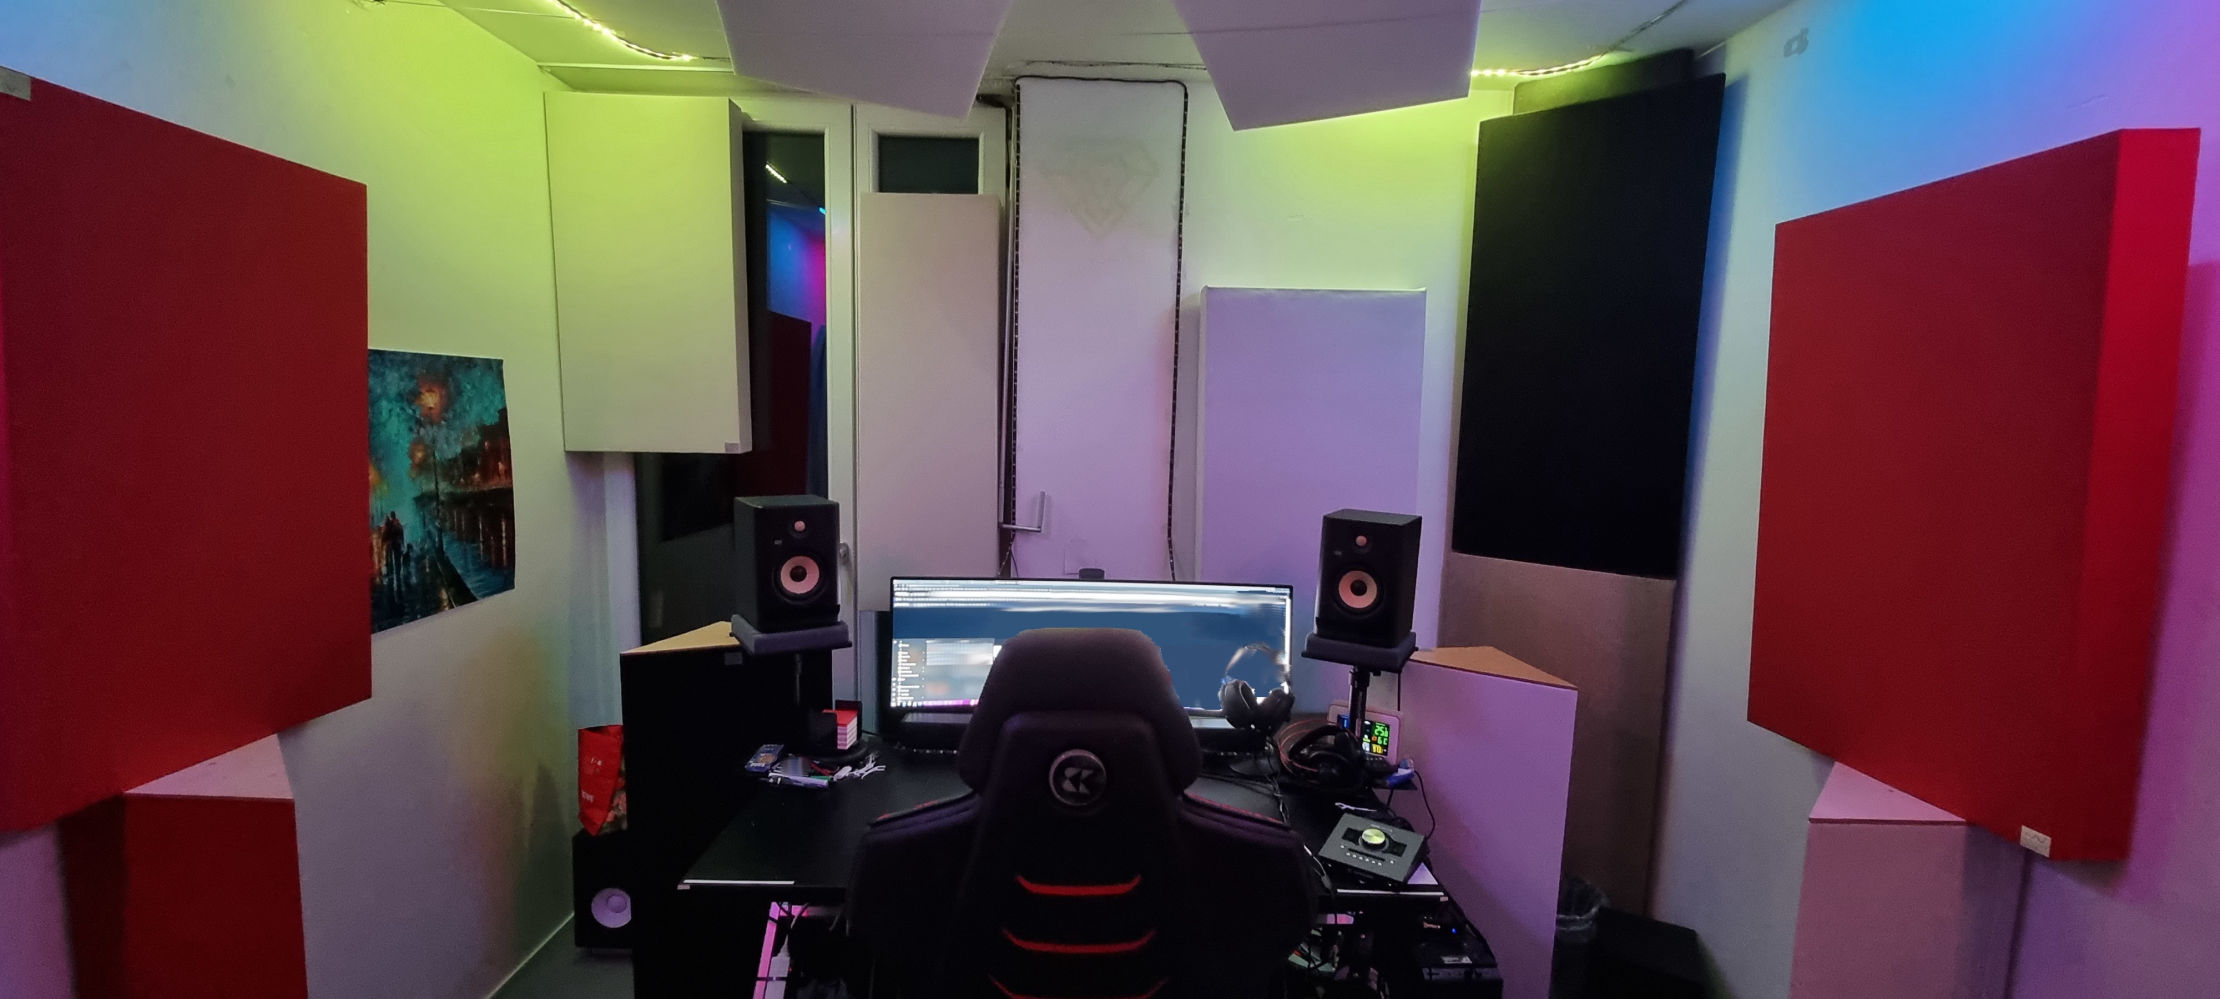
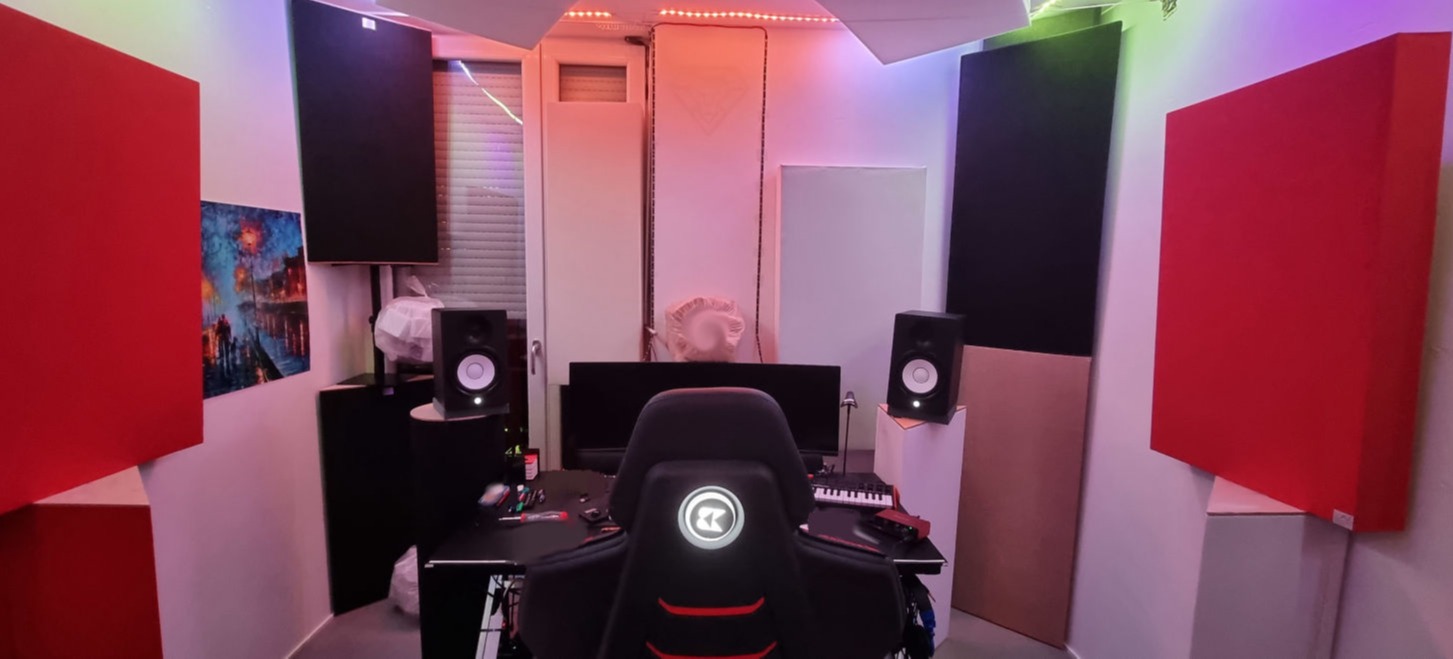
Be aware of the parallax error as the pictures are not perfectly straight.
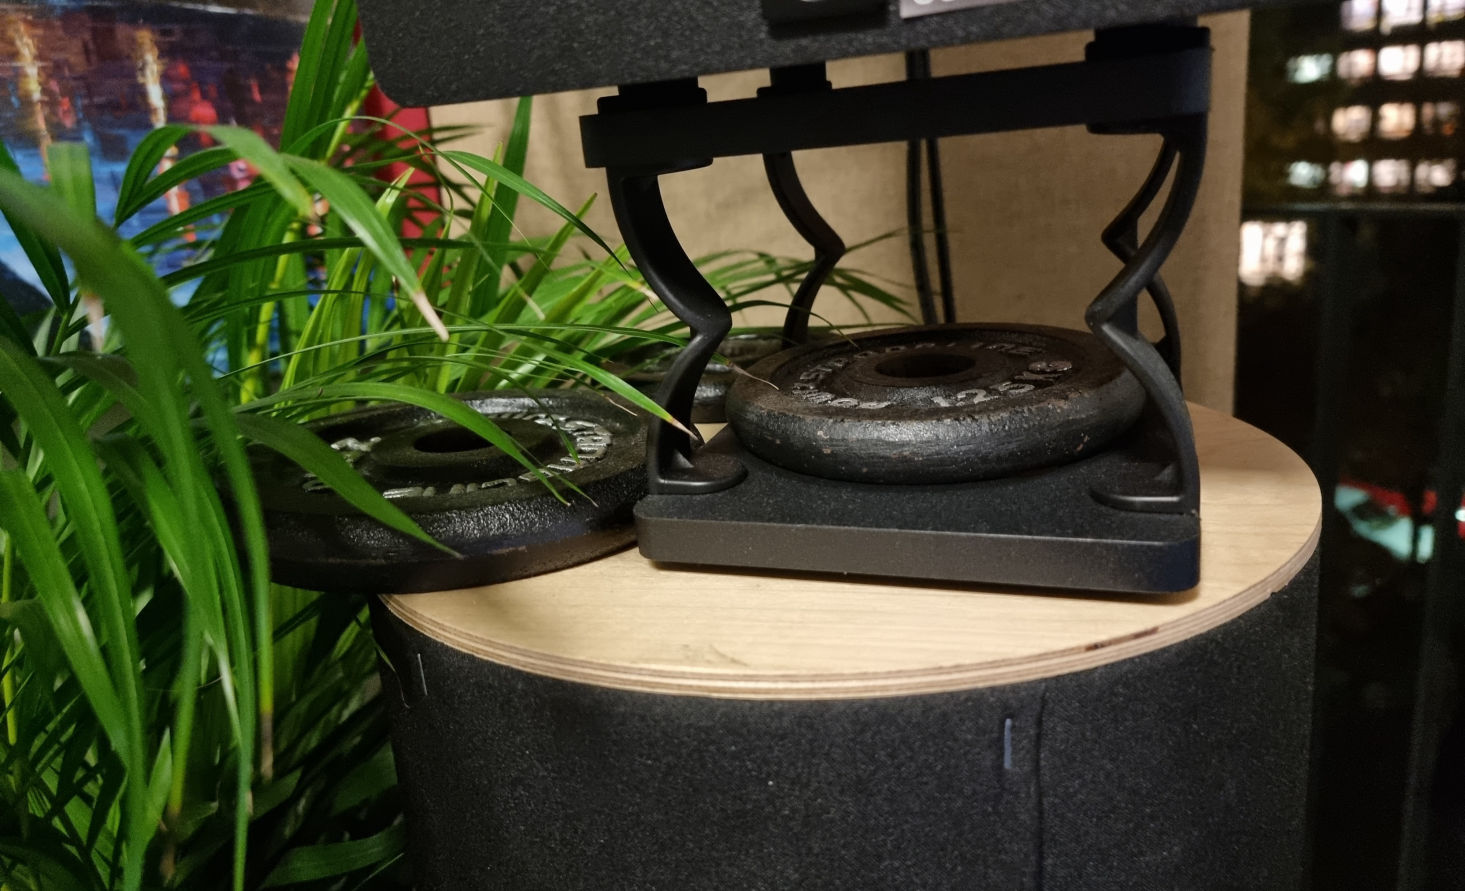
the monitor is perfectly centered on the isolation stands and is parallel to the ground.
It looks uneven due to perspective and camera lens distortion.
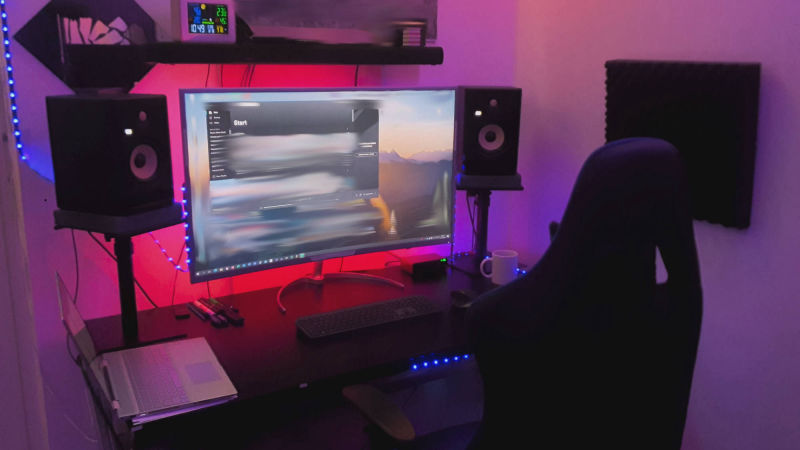
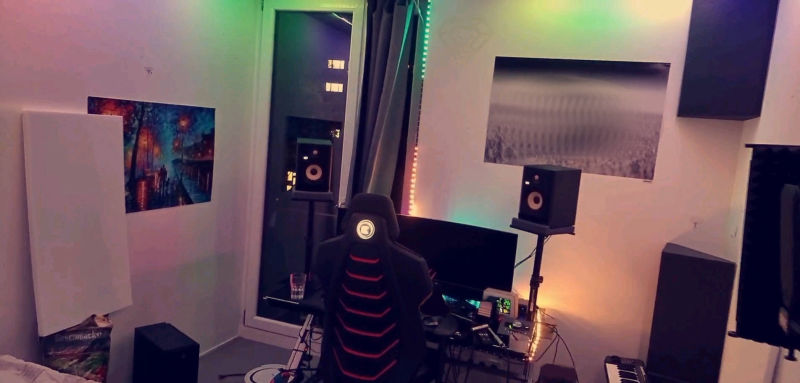
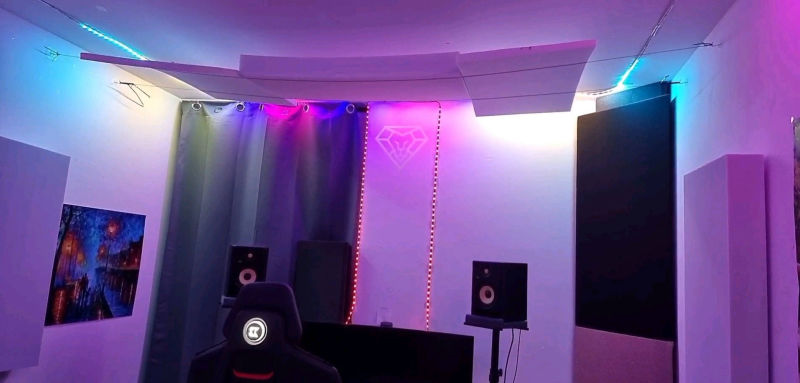
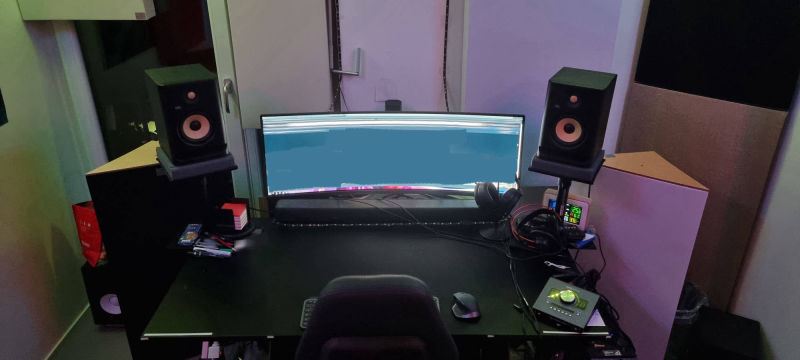
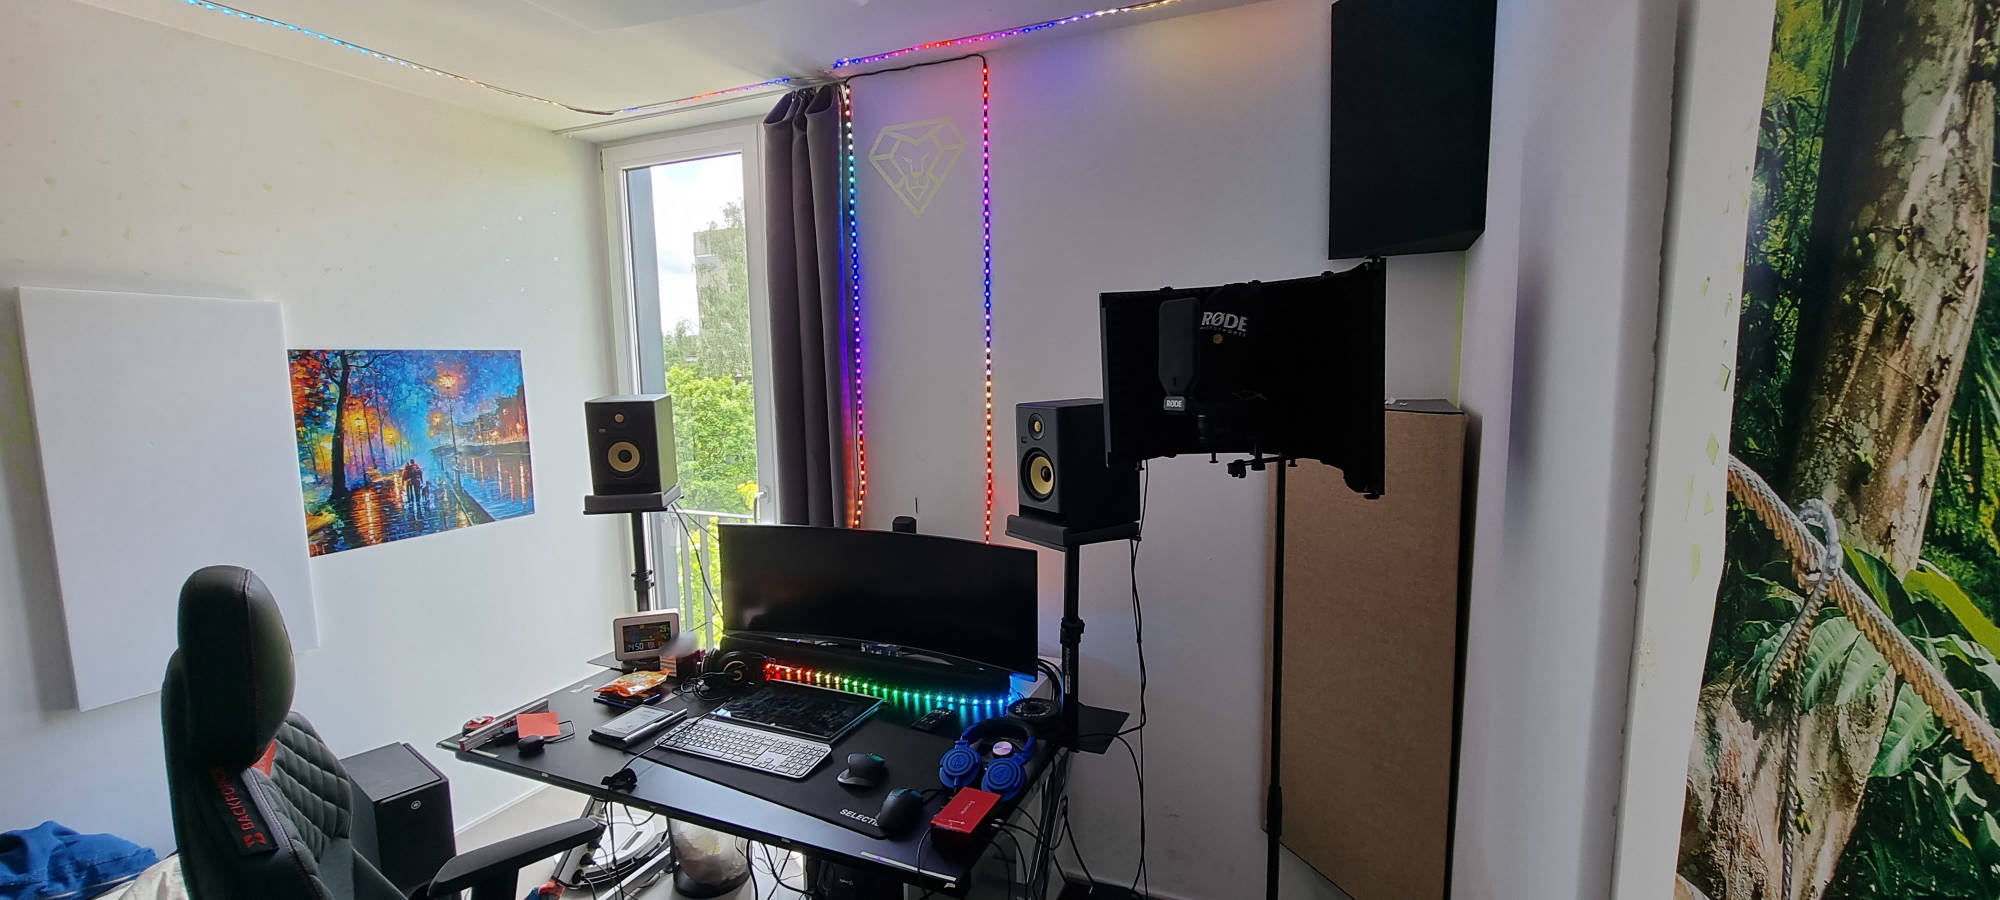
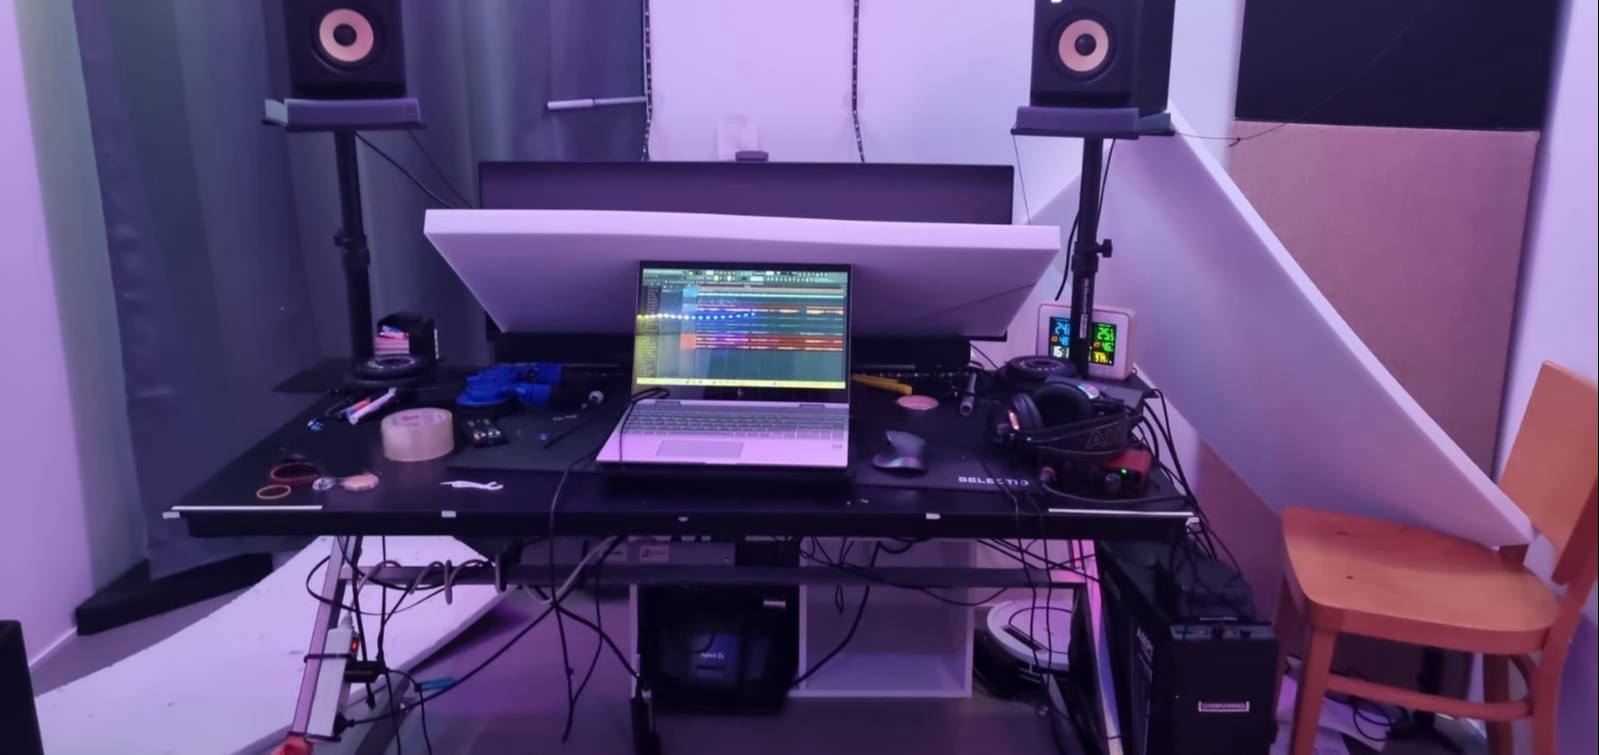
Since 2022
current goal:
working towards a combination of two Studios that fix the flaws of the other one